DISCLAIMER: I’m not affiliated with inlets/ openfaas. I bought inlets-pro license on my own as it’s a cool tech which answers limitations to my current home-lab setup.
As with anyone running an on-premise Kubernetes, exposing services internally is straight forward process – setting up services/ ingress. voila! You got your application consumable by anyone internal to your network.
Now to have it accessible from the Internet is whole another story especially for home-lab users. The options are limited to which ranges from having your ISP allow you to NAT internally to your private network to moving your kubernetes cluster publicly. The latter option will be expensive given the premium price associated with type:LoadBalancer.
Here comes Inlets to the rescue! An open-source solution that allows you to create tunnel from an inexpensive VPS to your on-premise resource which include your kubernetes cluster.
Architecture and quick overview in the following URL: https://inlets.dev/
Taking it for a spin
For this setup, i’ll be using the following resource:
- 3$ per month OVH VPS running Ubuntu 18.04 as my Exit Server
- an On-Prem K8S Cluster (Powered by Tanzu Kubernetes Grid)
- Inlets-Pro – i bought the paid version. There’s also an open-source solution for this.
Since OVH is not part of the auto-cloud setup for inlets-pro, i’ll be setting the tunnel manually. To do this is documented on the following: https://github.com/inlets/inlets-pro/tree/master/artifacts
Exit Server Setup
- Download and install inletsctl which allow you to download the needed binaries to start the setup
curl -sLSf https://inletsctl.inlets.dev | sudo sh
- Download inlets-pro binary
inletsctl download --pro
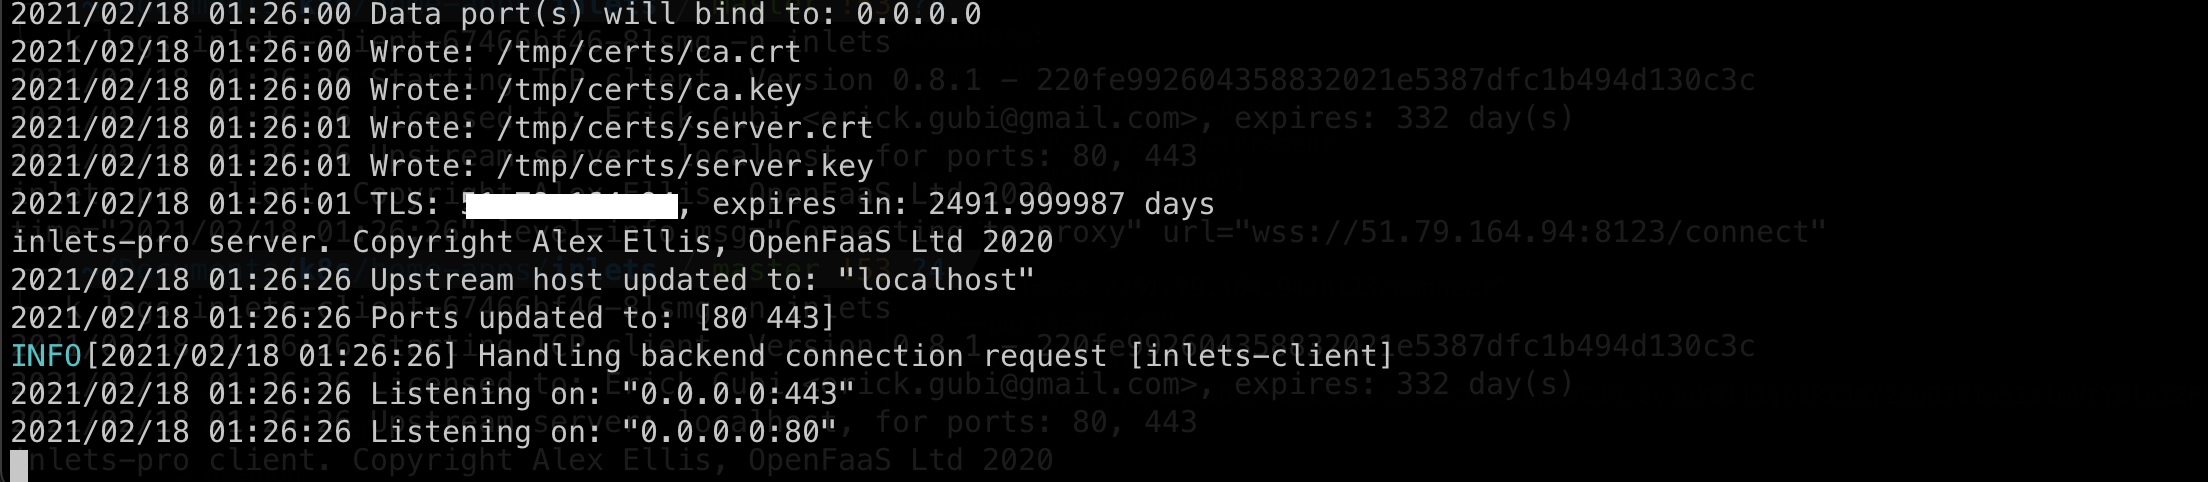
- Run the inlets-pro server with the following switches. NOTE: –help will provide additional options
inlets-pro server --auto-tls --auto-tls-san <TLS TO USE for the CONTROL PLANE> --token=<ANY STRING to use for exit server token>
- …and thats it. The exit server will not be listening to the default port.
- If you want to run the inlet exit server as a service you can add the –generate=systemd flag to generate the unit service
Client Setup
For my client setup, I’ll be running it as a deployment within my on-premise kubernetes. In addition, the uplink (or the service that will be tunneled from the exit server) will be a Traefik Service also running as ingress controller within the same cluster. This allows me to expose any X number of services behind traefik.
apiVersion: apps/v1
kind: Deployment
metadata:
  name: inlets-client
spec:
  replicas: 1
  selector:
    matchLabels:
      app: inlets-client
  template:
    metadata:
      labels:
        app: inlets-client
    spec:
      containers:
      - name: inlets-client
        image: inlets/inlets-pro:0.8.1
        imagePullPolicy: IfNotPresent
        command: ["inlets-pro"]
        args:
        - "client"
        - "--url=wss://<EXIT SERVER IP>:8123/connect"
        - "--ports=80,443"
        - "--token=<TOKEN SPECIFIED in the SERVER>"
        - "--license=<INSERT INLETS-PRO license>"
        - "--upstream=traefik.traefik"
NOTE: Upstream is specified as traefik.traefik because my Traefik Service is running in Traefik namespace. Your steup may vary depending on where the inlets deployment is located.
After deployment, you can now access your Traefik from the big-bad-internet via the Exit Server IP!
Additional Note: Make sure to create appropriate DNS changes to coincide with the ingress-route rule of traefik going to the Exist Server.
Special Thanks to Alex Ellis for helping with the setup!
Here’s the inlets page again: https://inlets.dev/
Happy Home-Lab Setup!!