For this post, I’ll document how to setup Harbor registry using Traefik as an ingress controller with a valid certificate from LetsEncrypt . Documentation around the topic is scattered in different places and people just assumes you’ll figure out the trivial details. So without further ado… let’s start with a quick pre-requisites.
Pre-requisite
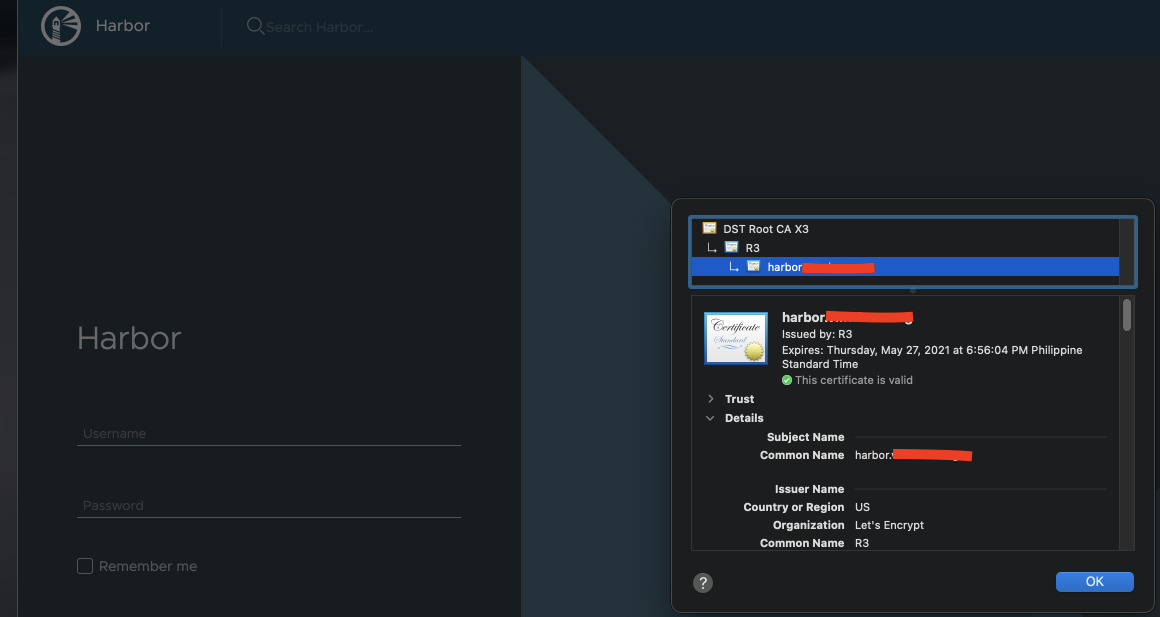
As an image registry, Harbor needs to have a valid certificate for it to be trusted endpoint when pushing images. Otherwise, you need to manually trust the insecure certificate to be able to interact with it. In a kubernetes cluster this is especially painful given the capabilities to scale-in/out the nodes like what Tanzu Kubernetes offers. Luckily, there are options to get around this which does not cost an arm and a leg.
DISCLAIMER: The following are my personal way of doing it. Vendors and configurations are of my personal preference. There are multiple ways to skin a cat… this is just one of them 🙂
What we need to get started
- Public Domain Name
- We will be using this as the domain for our harbor registry.
- This will set you up around 3-5$ per year depending on how complex the domain is.
- Cloudflare managed Domain Name
- This is a free service.
- CloudFlare is chosen as it will be used to validate LetsEncrypt handshake for issuance of the trusted certificate.
Setting up Cert-Manager with Cloudflare
The following assumes you already have cert-manager running in your kubernetes cluster. In case you need you to install, cert-manager has an awesome documentation you can follow.
Installation steps: https://cert-manager.io/docs/installation/
After installing cert-manager, we need the following high-level steps:
- Manage your domain name with Cloudflare
- Create an API key from Cloudflare that allows us to call/create DNS resource.
- DNS handshake from Cloudflare to LE removes dependency on the connectivity of our on-premise setup. The only requirement for this setup to work is to have cert-manager out-bound call to cloudflare API to create the TXT resource and LE to request cert.
- Create a secret based on the API key from cloud-flare on the cert-manager namespace.
- Create a CluterIssuer resource with the secret referenced. This kind of resource allows us to use it throughout the cluster regardless of the namespace.
- For testing purpose, we can create a the LetsEncrypt Staging endpoint to make sure its working before switching to the production. This is recommended by LE as they *may* block your domain if you set up your environment incorrectly against the production LE endpoint.
REFERENCE: https://cert-manager.io/docs/configuration/acme/dns01/cloudflare/
ClusterIssuer manifest
apiVersion: cert-manager.io/v1alpha2
kind: ClusterIssuer
metadata:
  name: letsencrypt-stg
  namespace: cert-manager
spec:
  acme:
    # staging
    server: https://acme-staging-v02.api.letsencrypt.org/directory
    privateKeySecretRef:
      name: letsencrypt
    solvers:
    - dns01:
        cloudflare:
          email: <YOUR EMAIL>
          apiTokenSecretRef:
            name: cloudflare-api-token
            key: api-token
---
apiVersion: cert-manager.io/v1alpha2
kind: ClusterIssuer
metadata:
  name: letsencrypt-prod
  namespace: cert-manager
spec:
  acme:
    # production
    server: https://acme-v02.api.letsencrypt.org/directory
    privateKeySecretRef:
      name: letsencrypt
    solvers:
    - dns01:
        cloudflare:
          email: <YOUR EMAIL>
          apiTokenSecretRef:
            name: cloudflare-api-token
            key: api-token
Creating the Harbor Certificate
Once we have ClusterIssuer setup, we need to request the certificate for harbor to use.
- Create a namespace where we will install harbor
- Create a certificate resource on the namespace where harbor will be installed. This is because certificate/secret resource are namespaced.
Certificate Request Manifest:
apiVersion: cert-manager.io/v1alpha2
kind: Certificate
metadata:
  name: harbor-cert
  namespace: harbor
spec:
  secretName: harbor-cert
  issuerRef:
    name: letsencrypt-prod
    kind: ClusterIssuer
  commonName: <FQDN of the harbor resource>
  dnsNames:
    - <FQDN of the harbor resource, any additional SAN>
- After creation of the certificate object, wait around 1-2 minutes for the certificate to be request.
- You can get the status of the certificate request by issuing the following


Setting up Traefik
Once we have the issuer ready, now it’s time to setup Traefik as an ingress controller. Documentation to install is fully documented in their website. Personally, I prefer installing the CRD’s and deployments manually. Refernece for the CRD’s to use is documented here: https://doc.traefik.io/traefik/reference/dynamic-configuration/kubernetes-crd/
Set-up entry-points for Notary
In the static configuration of Traefik (I prefer to use configmap), make sure to open up 4443 which is the port Notary needs to expose it’s service. In addition, its also a good time to make sure the proper providers are setup in the static config.
NOTE: We won’t be using the ingressClass as the Certificates will be installed directly to Harbor. Traefik will be configured to passthrough.
Static Config:
    providers:
      kubernetesCRD: {}
      kubernetesIngress:
        ingressClass: "traefik-certmanager"

    entryPoints:
      web:
        address: ":80"

      web-secure:
        address: ":443"

      web-4443:
        address: ":4443"

      admin:
        address: ":8080"
Setting up Harbor
Harbor is installed using helm (shame) which is customized by passing in a values.yaml. The complete values definition is included in the github page here: https://github.com/goharbor/harbor-helm/blob/master/values.yaml
For this setup, we would be setting up the values.yaml as follows:
expose:
# we will use clusterIP as Traefik will be fronting our application
  type: clusterIP
  tls:
    enabled: true
    certSource: secret
    auto:
      commonName: ""
    secret:
      # specify secret resource created by cert-manager in the previous step.
      secretName: "harbor-cert"
You can consider modifying the PV as well if you prefer to increase the disk used by harbor. By default, it only creates 5GB of disk.
Once you have the values.yaml customized, install harbor by doing the following:
helm install harbor harbor/harbor -f values.yaml -n harbor
Setting IngressRoutes for Harbor
Once we have Harbor up and running, it’s time to create Traefik’s IngressRoute to expose Harbor to the outside world. We will be exposing three ports: 80, 443, and 4443. Make sure this ports are part of Traefik’s static configuration.
Sample IngressRoutes:
apiVersion: traefik.containo.us/v1alpha1
kind: IngressRouteTCP
metadata:
  name: harbor-https
  namespace: harbor
spec:
  entryPoints:
  - web-secure
  routes:
  - match: HostSNI(`FQDN HERE`)
    kind: Rule
    services:
    - name: harbor
      port: 443
  tls:
    passthrough: true
---
apiVersion: traefik.containo.us/v1alpha1
kind: IngressRouteTCP
metadata:
  name: harbor-4443
  namespace: harbor
spec:
  entryPoints:
  - web-4443
  routes:
  - match: HostSNI(`FQDN HERE`)
    kind: Rule
    services:
    - name: harbor
      port: 4443
  tls:
    passthrough: true
---
apiVersion: traefik.containo.us/v1alpha1
kind: IngressRoute
metadata:
  name: harbor-route-http
  namespace: harbor
spec:
  entryPoints:
  - web
  routes:
  - match: Host(`FQDN HERE`)
    kind: Rule
    services:
    - name: harbor
      port: 80
    middleware:
    - name: redirect
      namespace: traefik
NOTE: For the HTTP resource, I used a middleware to redirect HTTP to HTTPS. This resource is created in the traefik namespace hence the reference. Middleware examples are in the traefik documentations.
Once this is done, your all set and hopefully have harbor up and accessible using the FQDN you specified.
Hope that helps. Enjoy!


Great post, thank you for sharing
Hi,
Really liking the site!
If you require any devops services please get in touch, we’d be honoured to
help you out.