3 weeks ago i decided to bite the bullet in building a new iteration of my homelab. Maintaining 4 separate machines (see Homelab v 2.0) is starting to be a burden as most of my time is spent maintaining the hardware.
With inspiration from /r/homelab (reddit.com), I wanted to build an “all-in-one” machine – with as much memory as possible. Put enough compute in one machine and just create nested ESXi for complex builds – sort-of “hyper-converged” idea (hehe).
Without further ado, this is what I came up with:
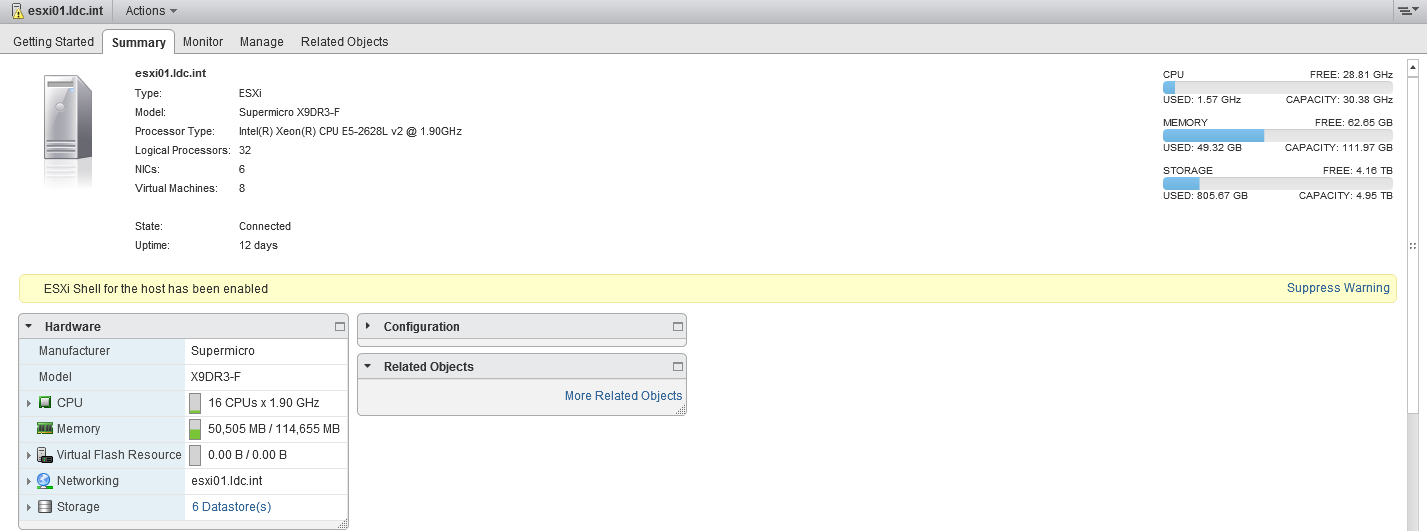
Motherboard: Supermicro X9DRi-F
Processor: 2 x Intel Xeon 2628L v2 – got this really cheap at ebay 🙂
HSF: Noctua i4 (only HSF that can fit a narrow ILM)
Memory: 112GB Un-bufferred Mem (re-used mems from my previous white-box builds)
PSU: Corsair Platinum AX 760
Case: Fractal Define XL R2
Disk:
- 4 x 128GB SSD in RAID0
- 2 x 1.8TB SAS in RAID1, 7.5K
- 2 x 450GB SAS in RAID1, 15K
- 1 x 512GB Samsung 850 Pro
The build:
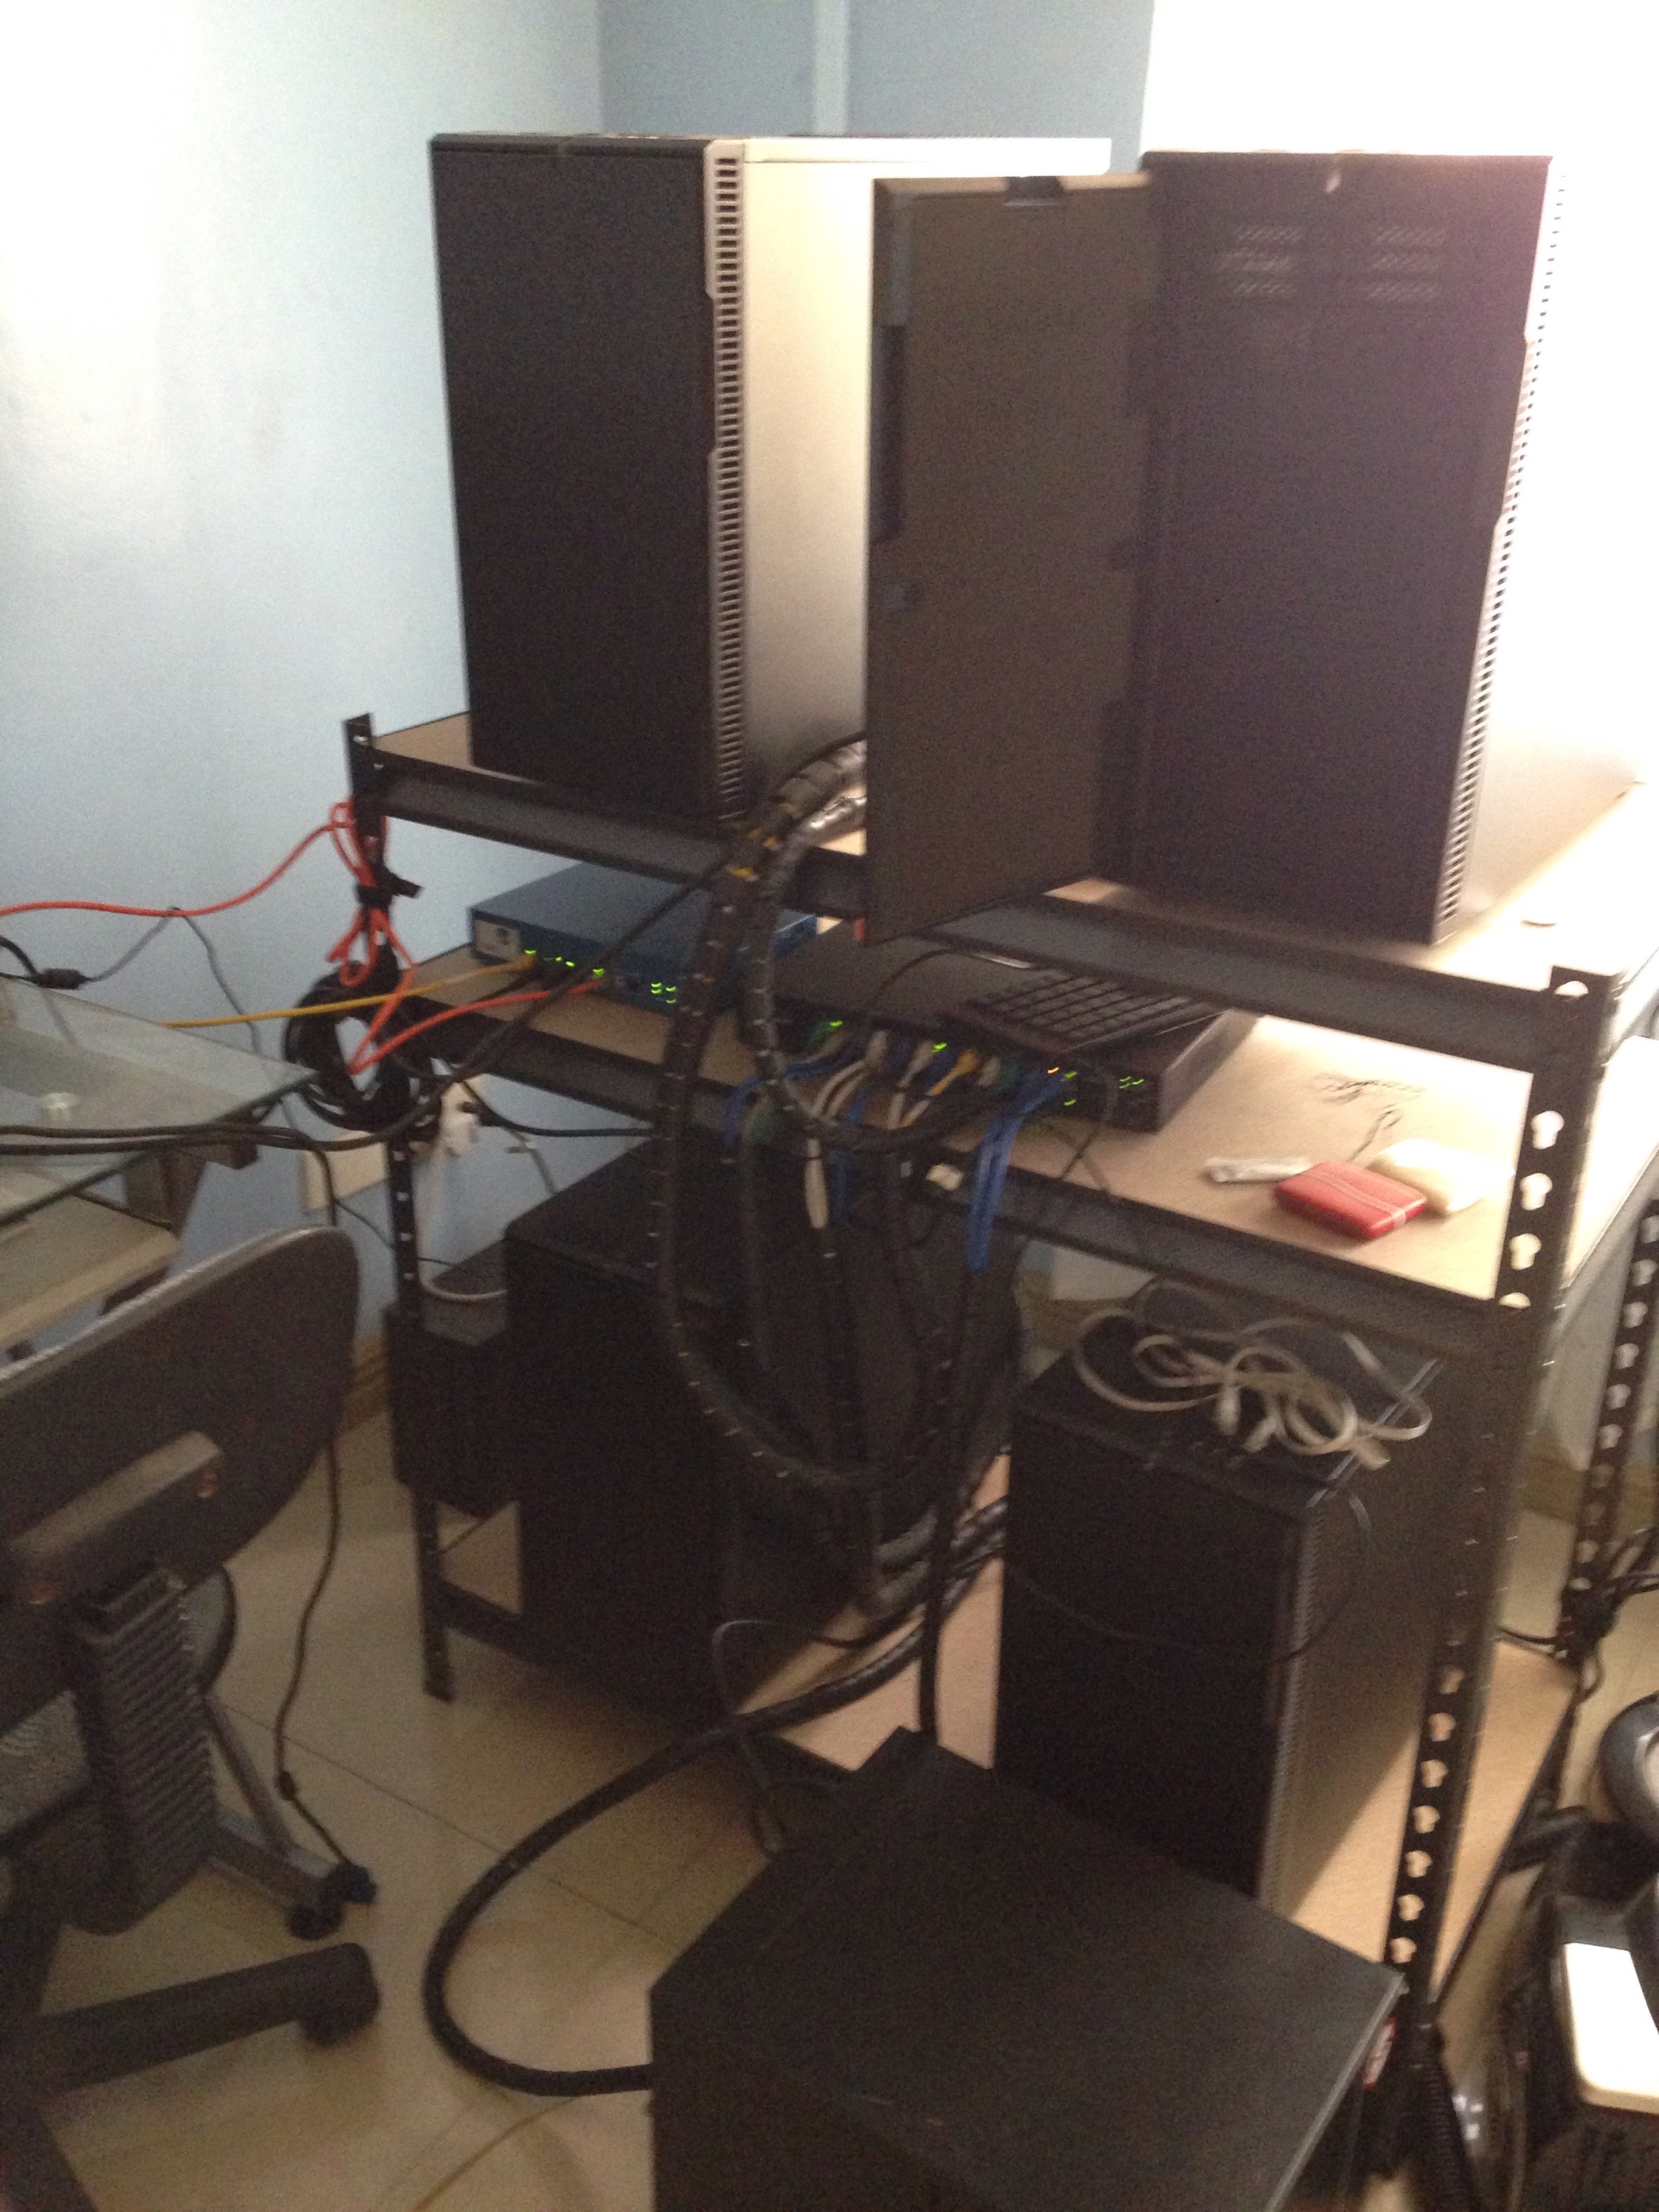
Homelab v2: Clunky and power hungry. Maintaining it is a lot of work so I had to consolidate the setup.
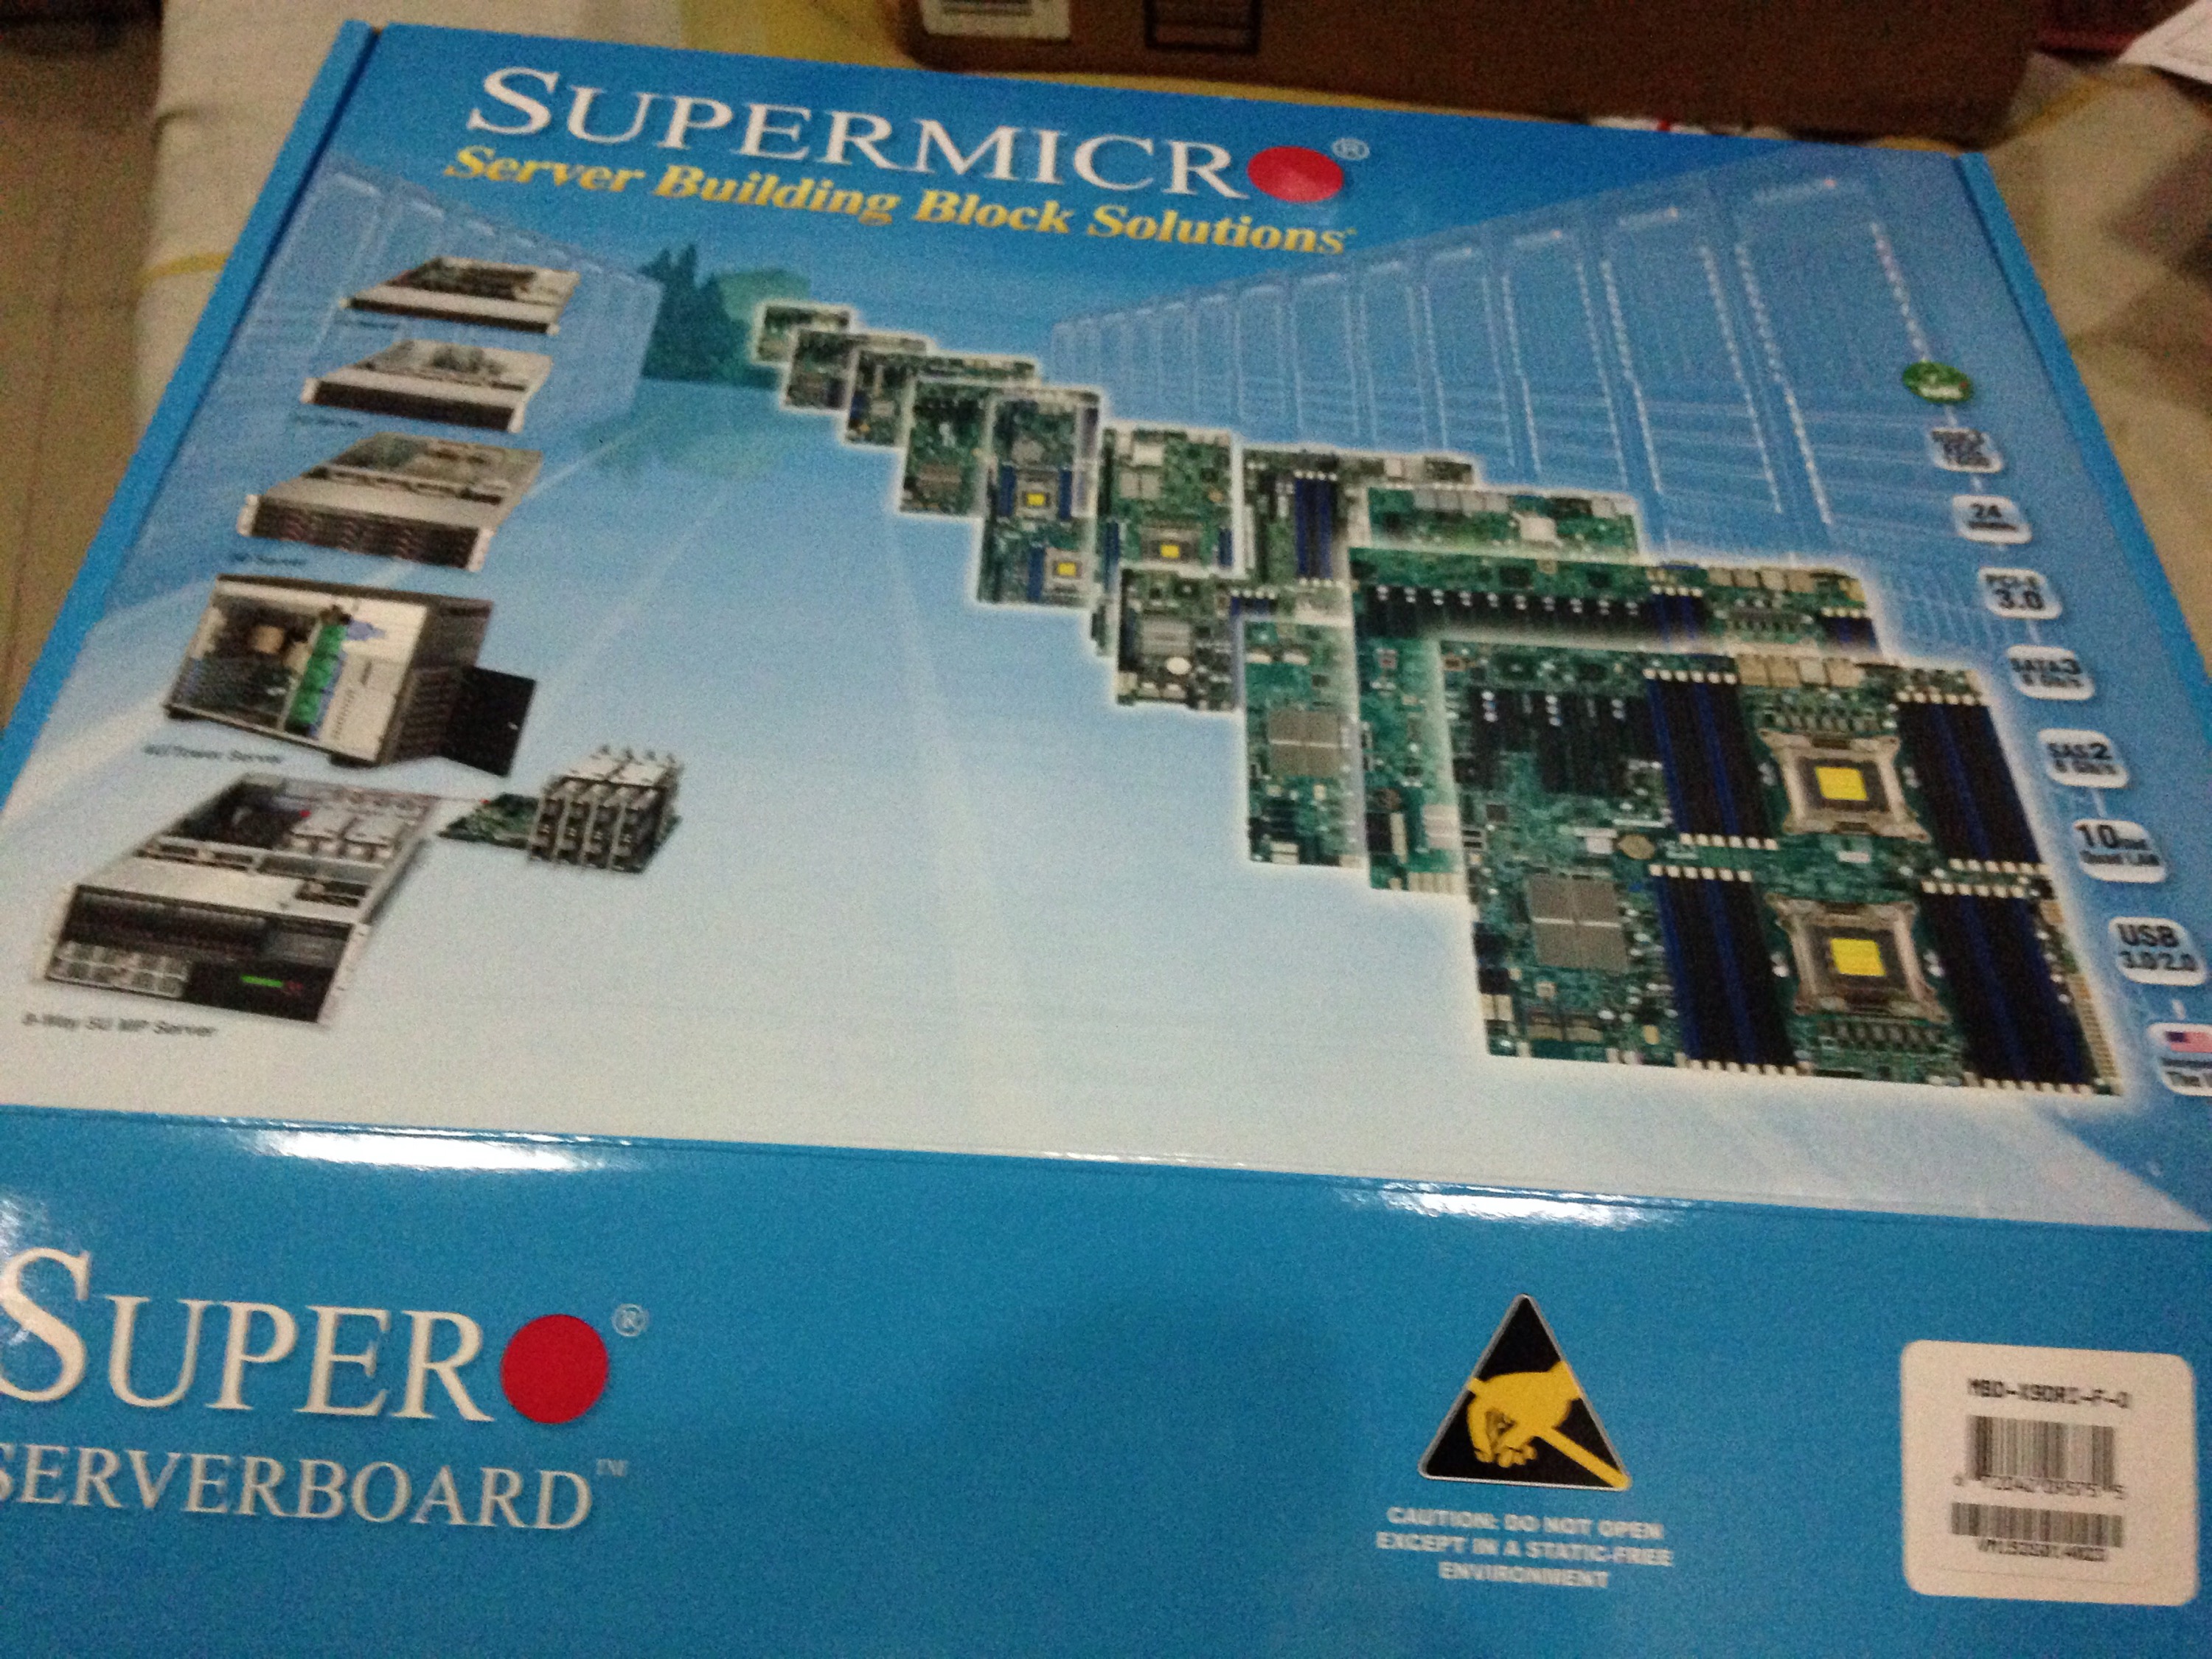
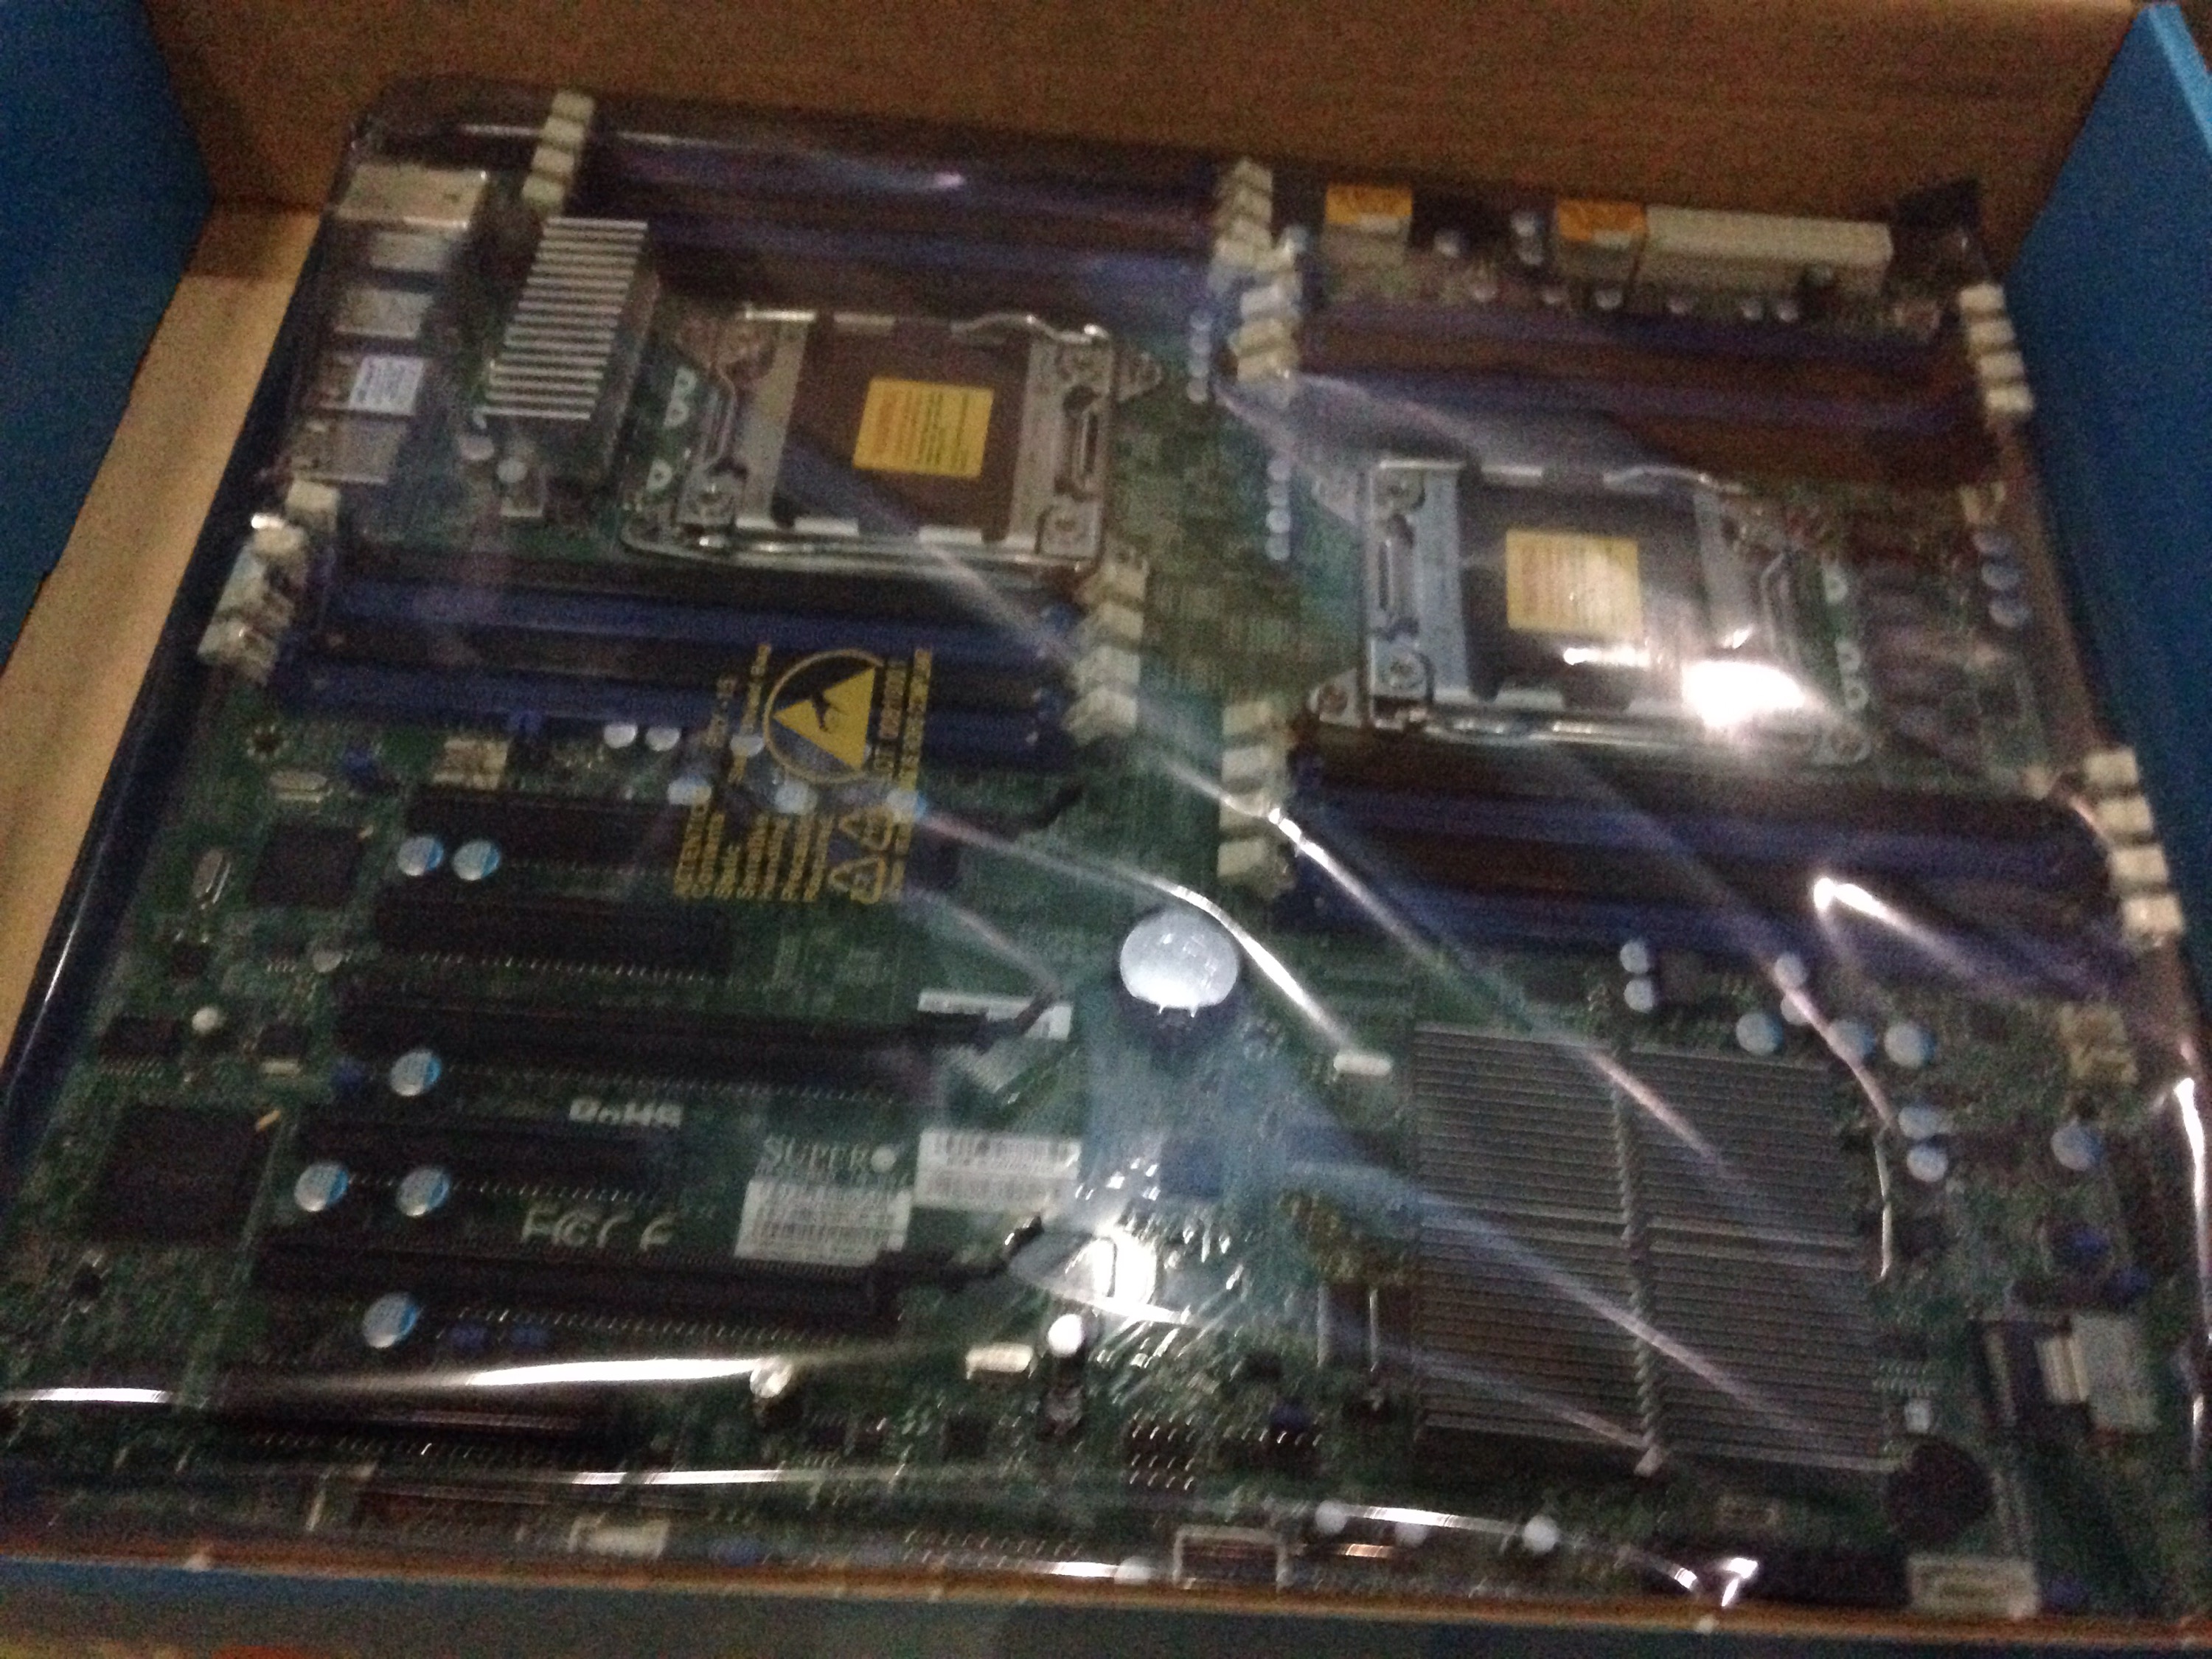
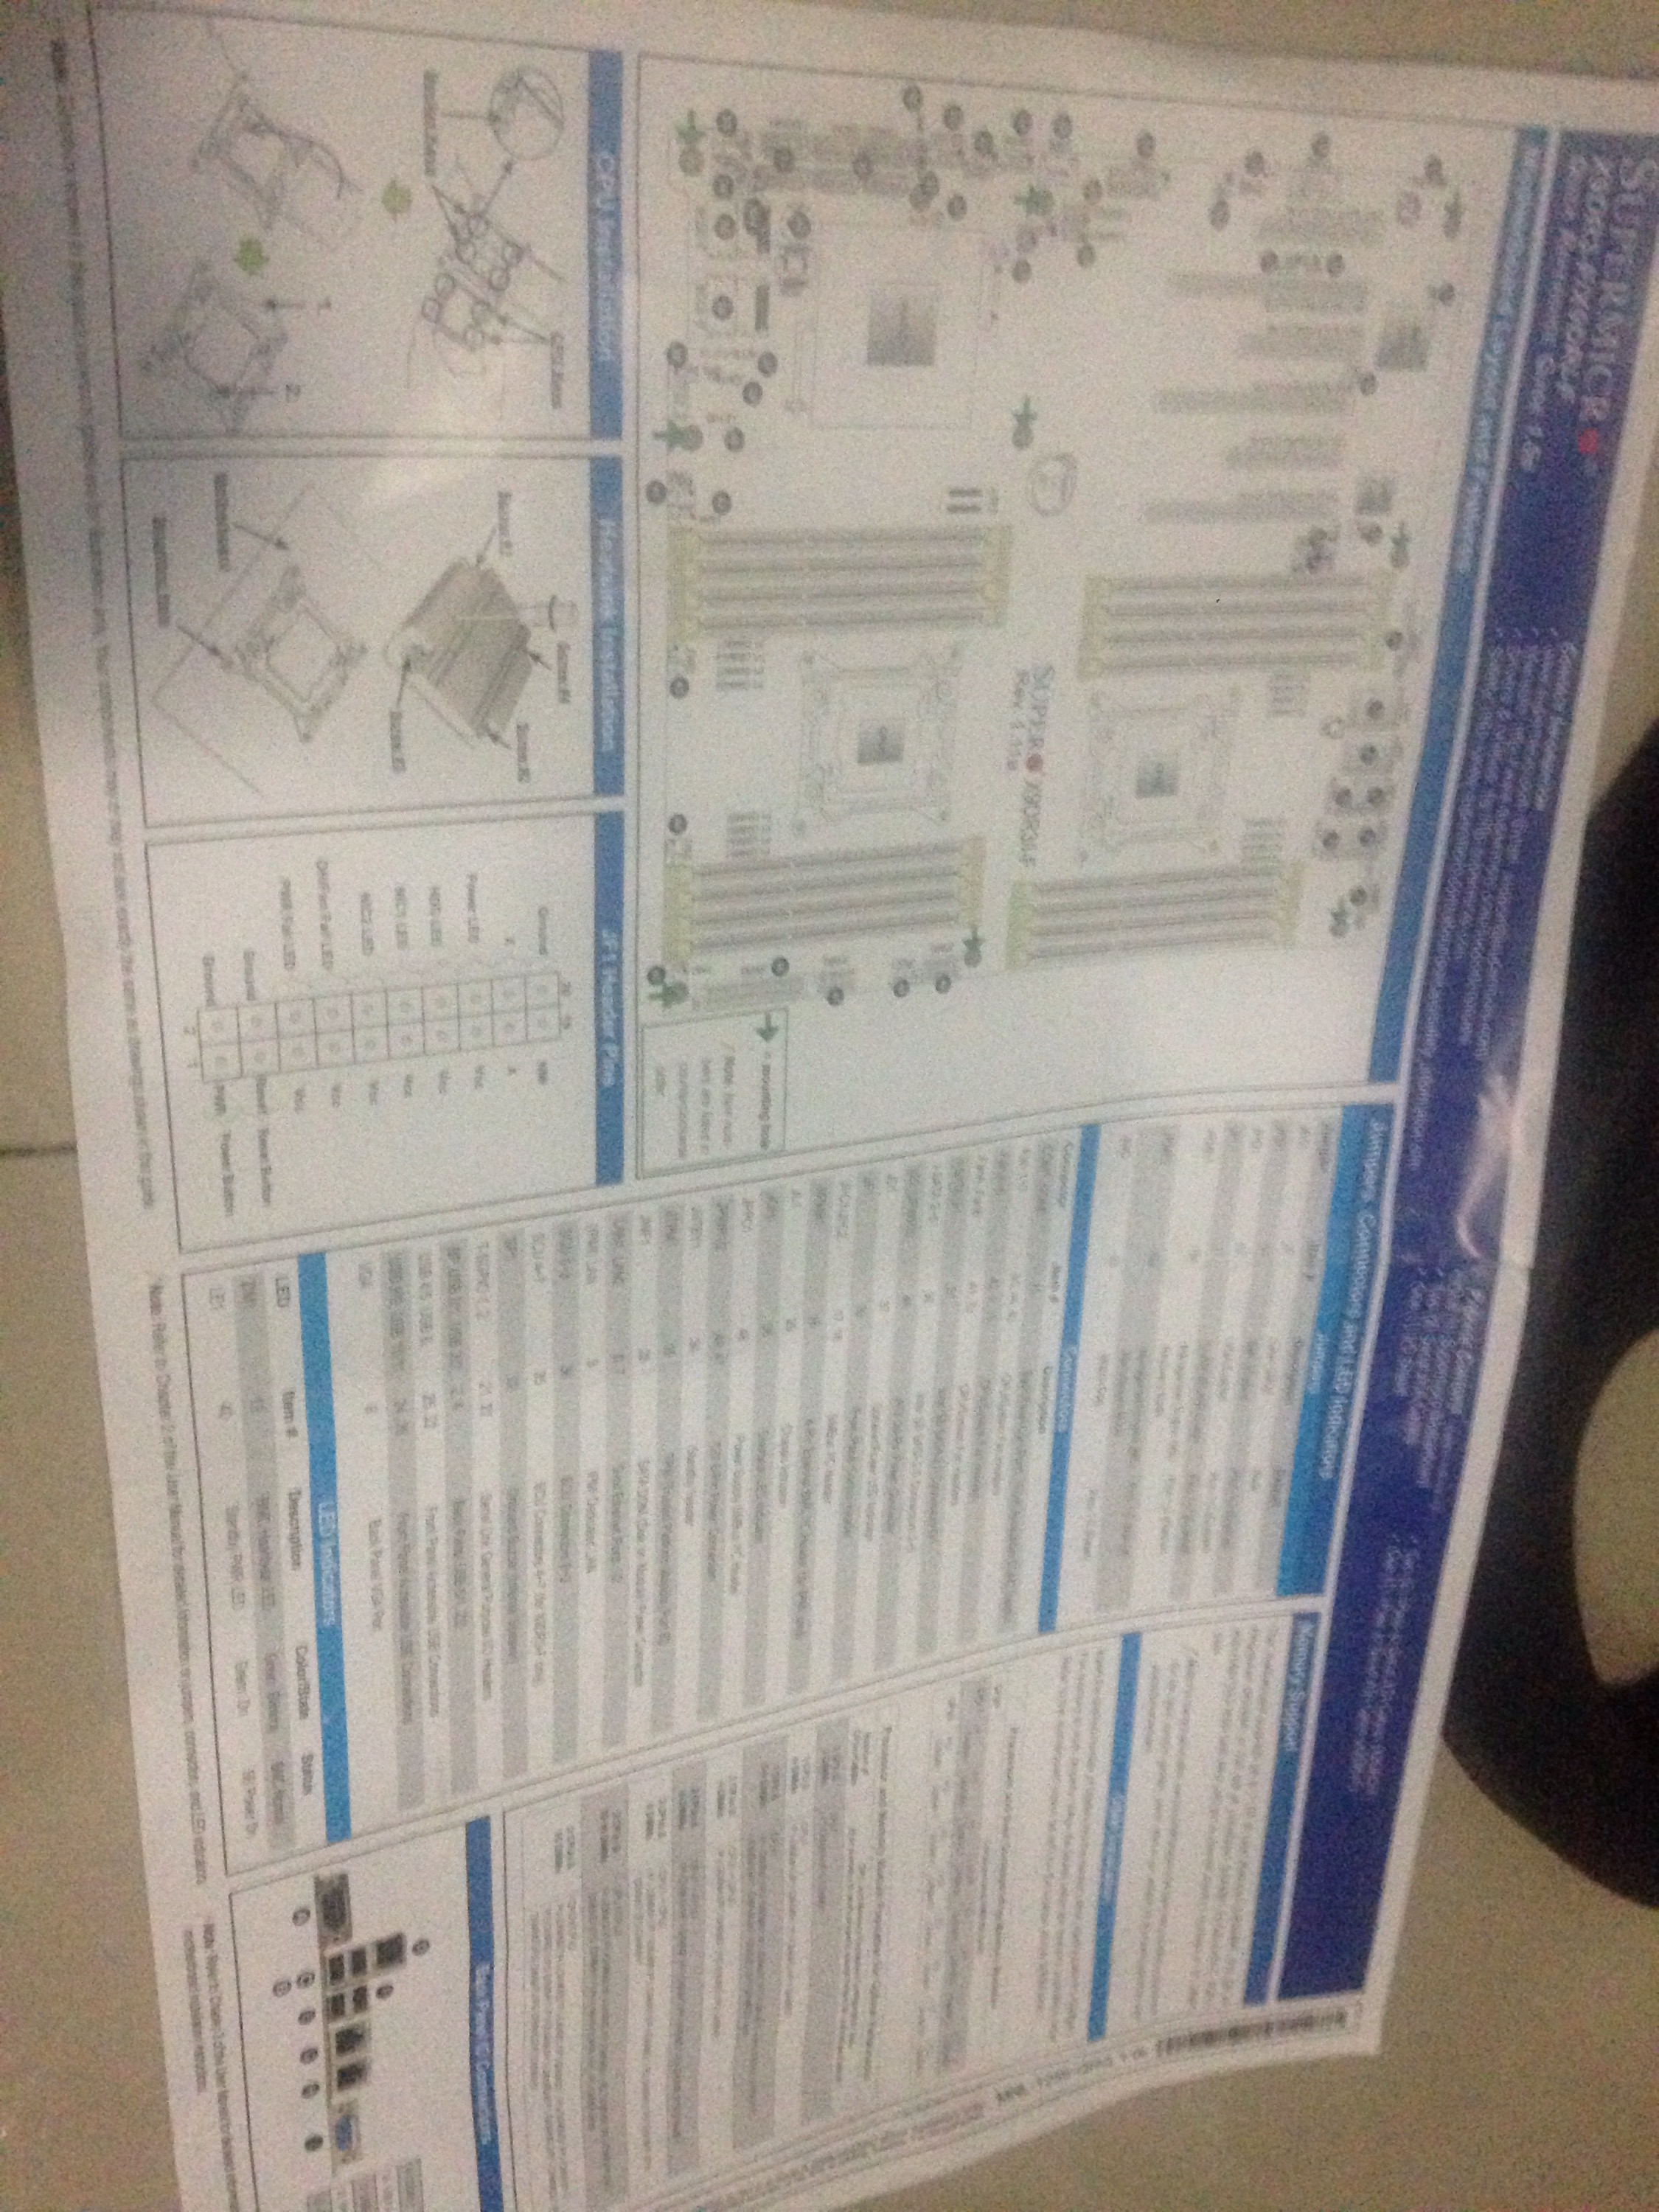
Build started with the motherboard, Supermicro X9DRi-F, which came in a modest packaging: motherboard, one page manual (more on this later), backplate, and a SAS cable. No-frills.
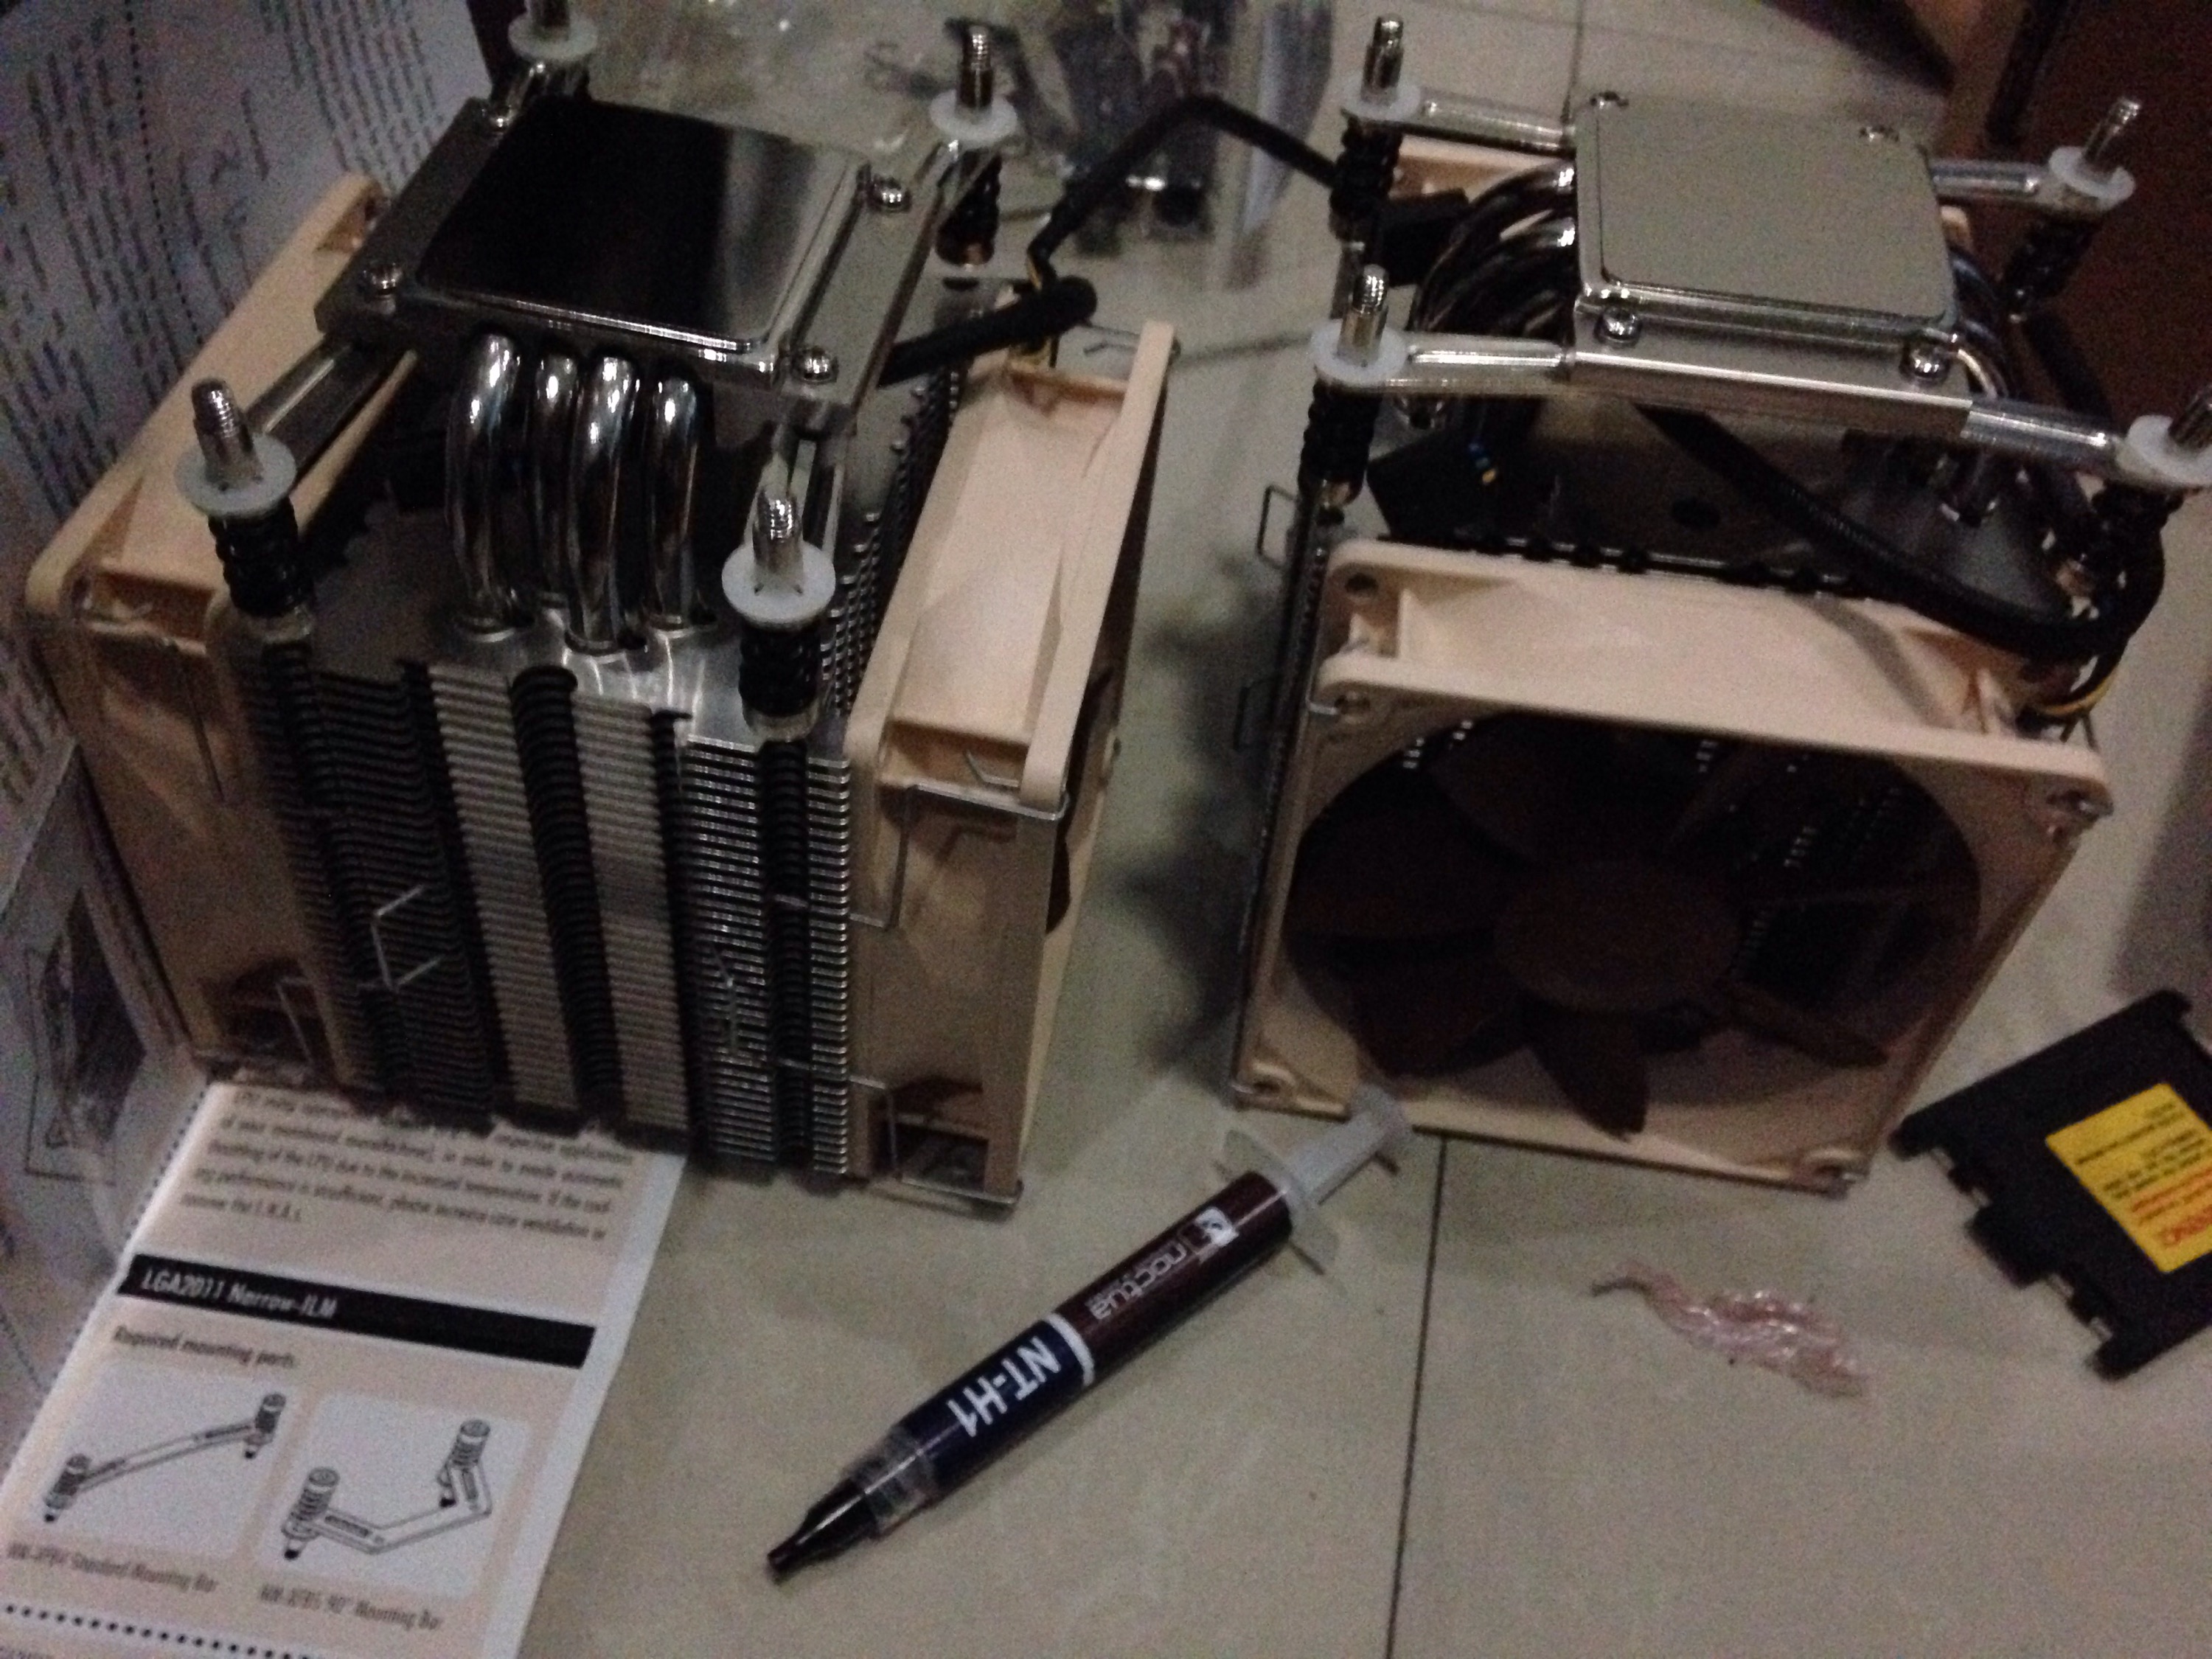
I then start prepping up the HSF. As the motherboard uses a specialized Narrow ILM mount, I had to swap out the default square bracket in the Noctua i4. (ooh shiny)
If there’s anything I’ve learned assembling PC’s, test it out first before putting it inside the case. You’ll be scratching your head if you find out it’s not working after you’ve build everything inside the case 🙂
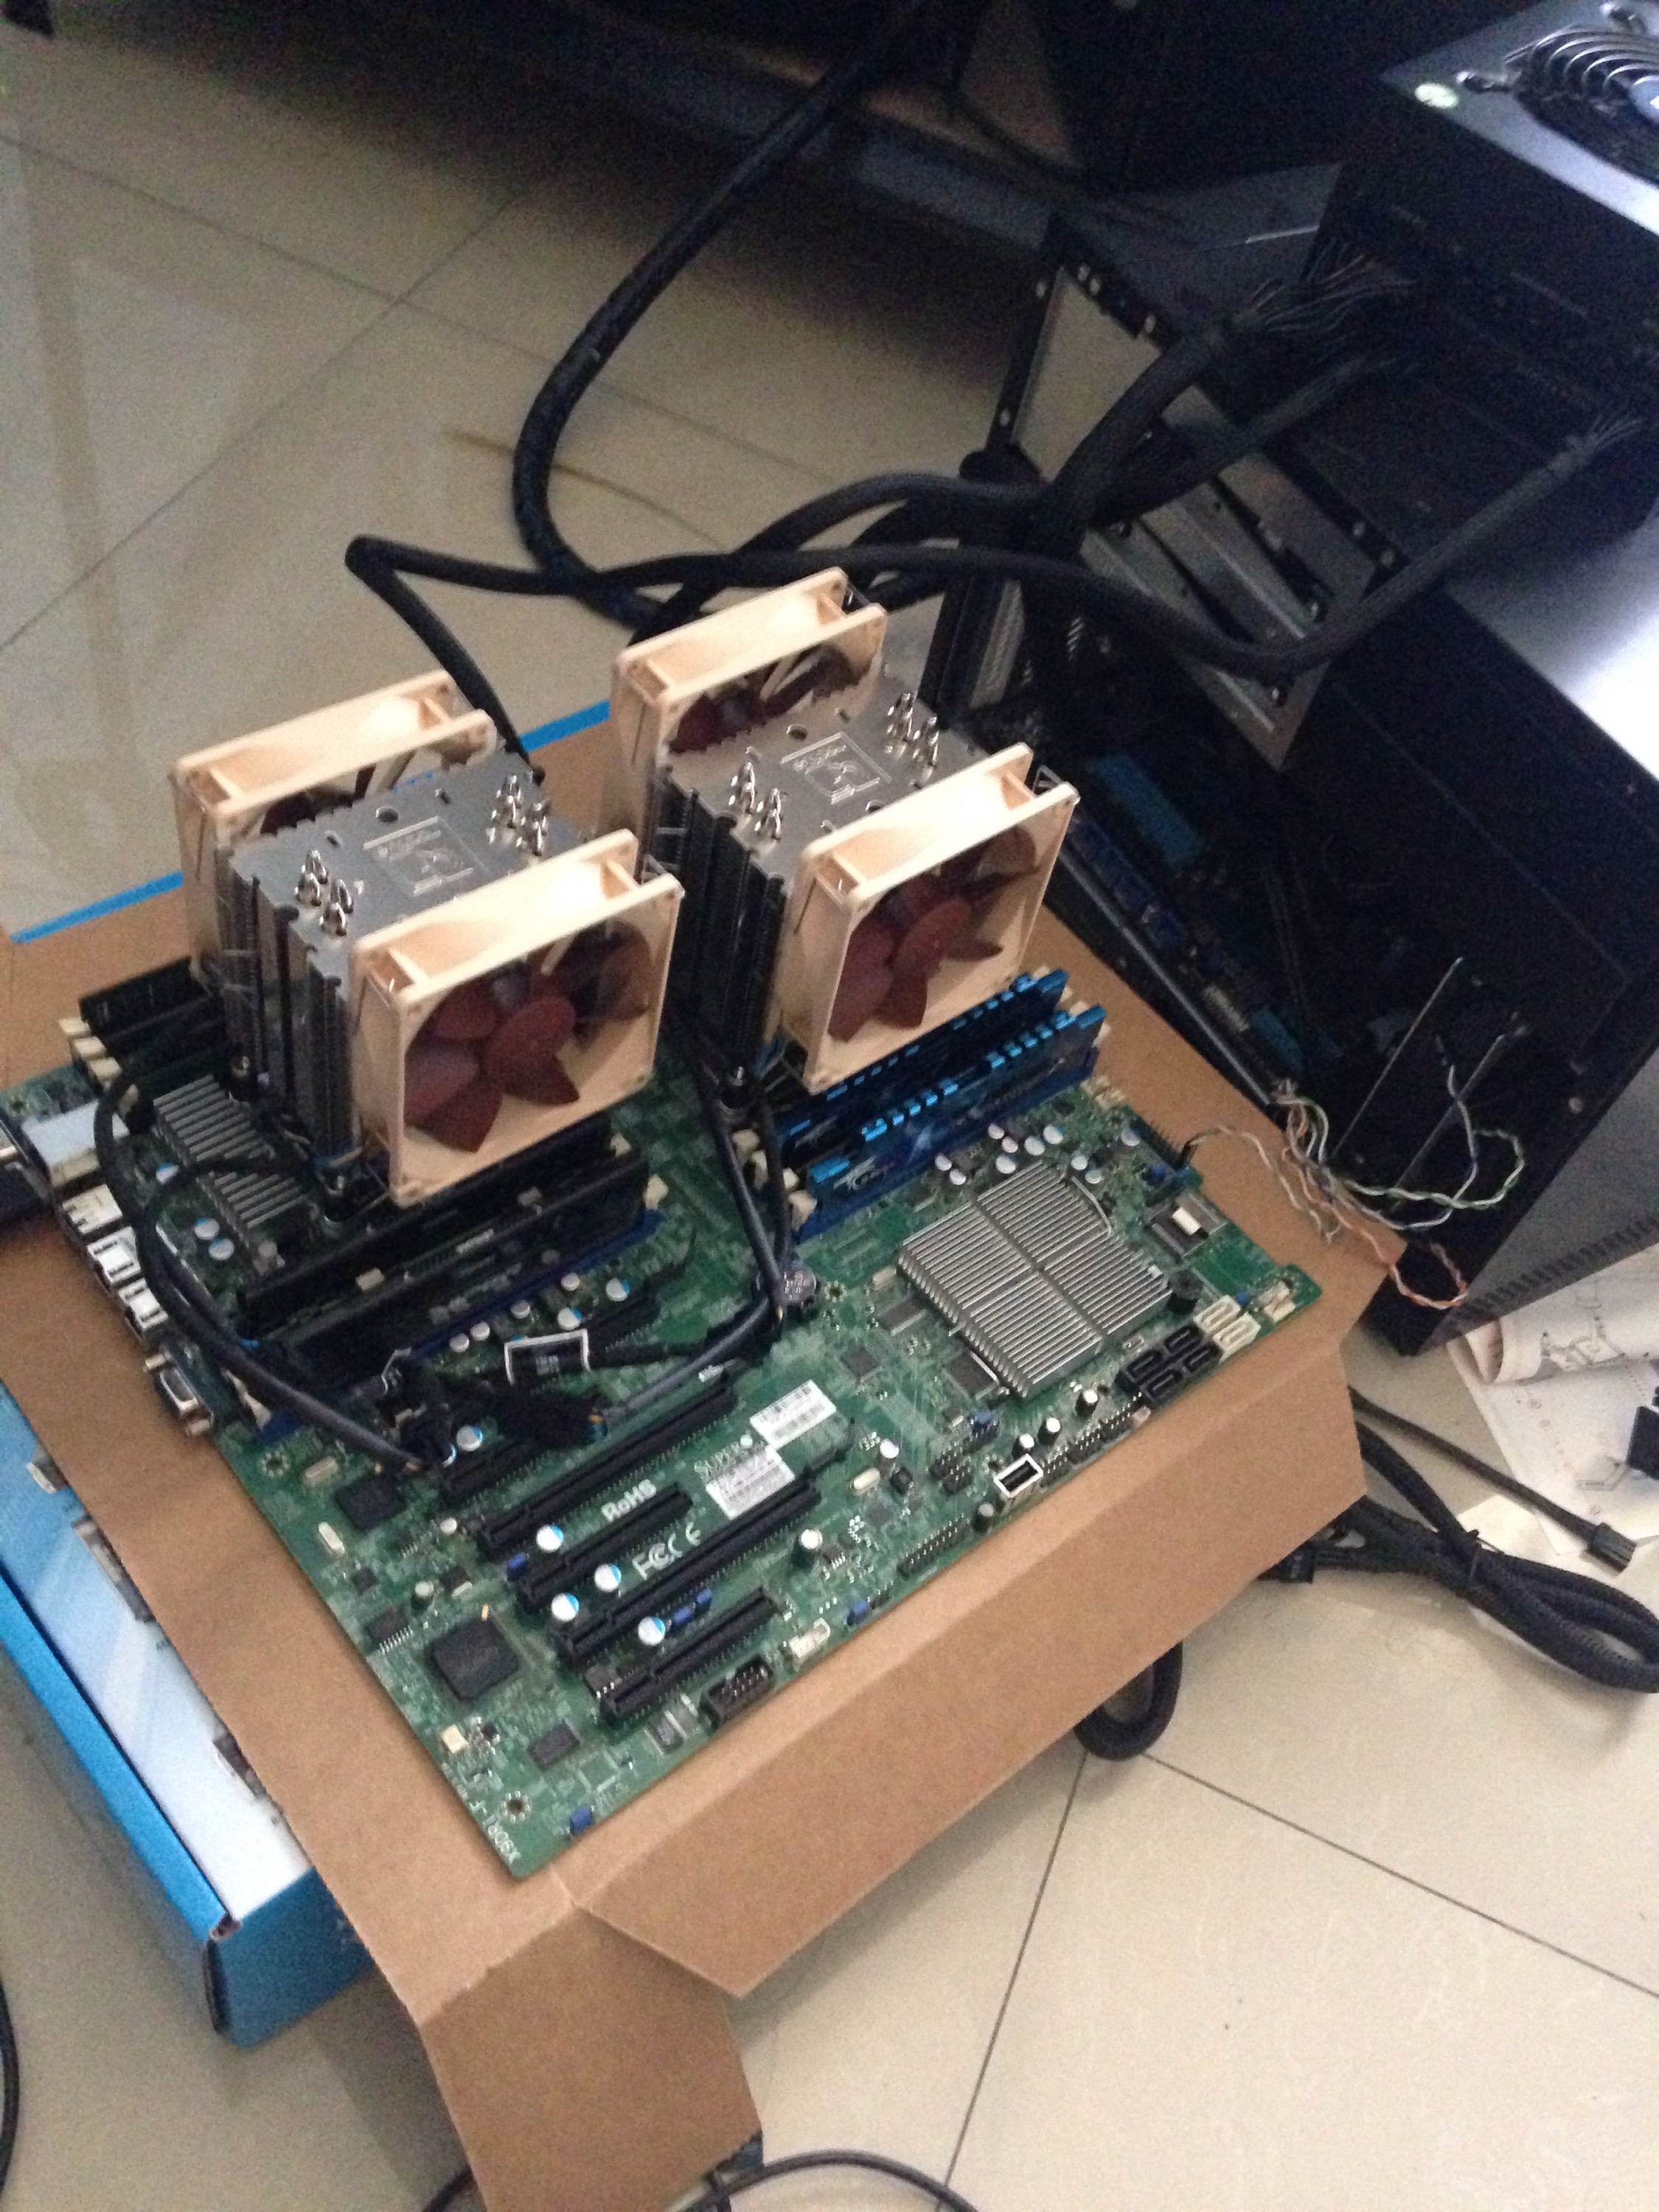
Oh.. and I had to adjust the fan as it’s touching the memory
The one-page manual may look stupid but it’s actually really helpful and convenient. All the references in one page. Good Job Supermicro!
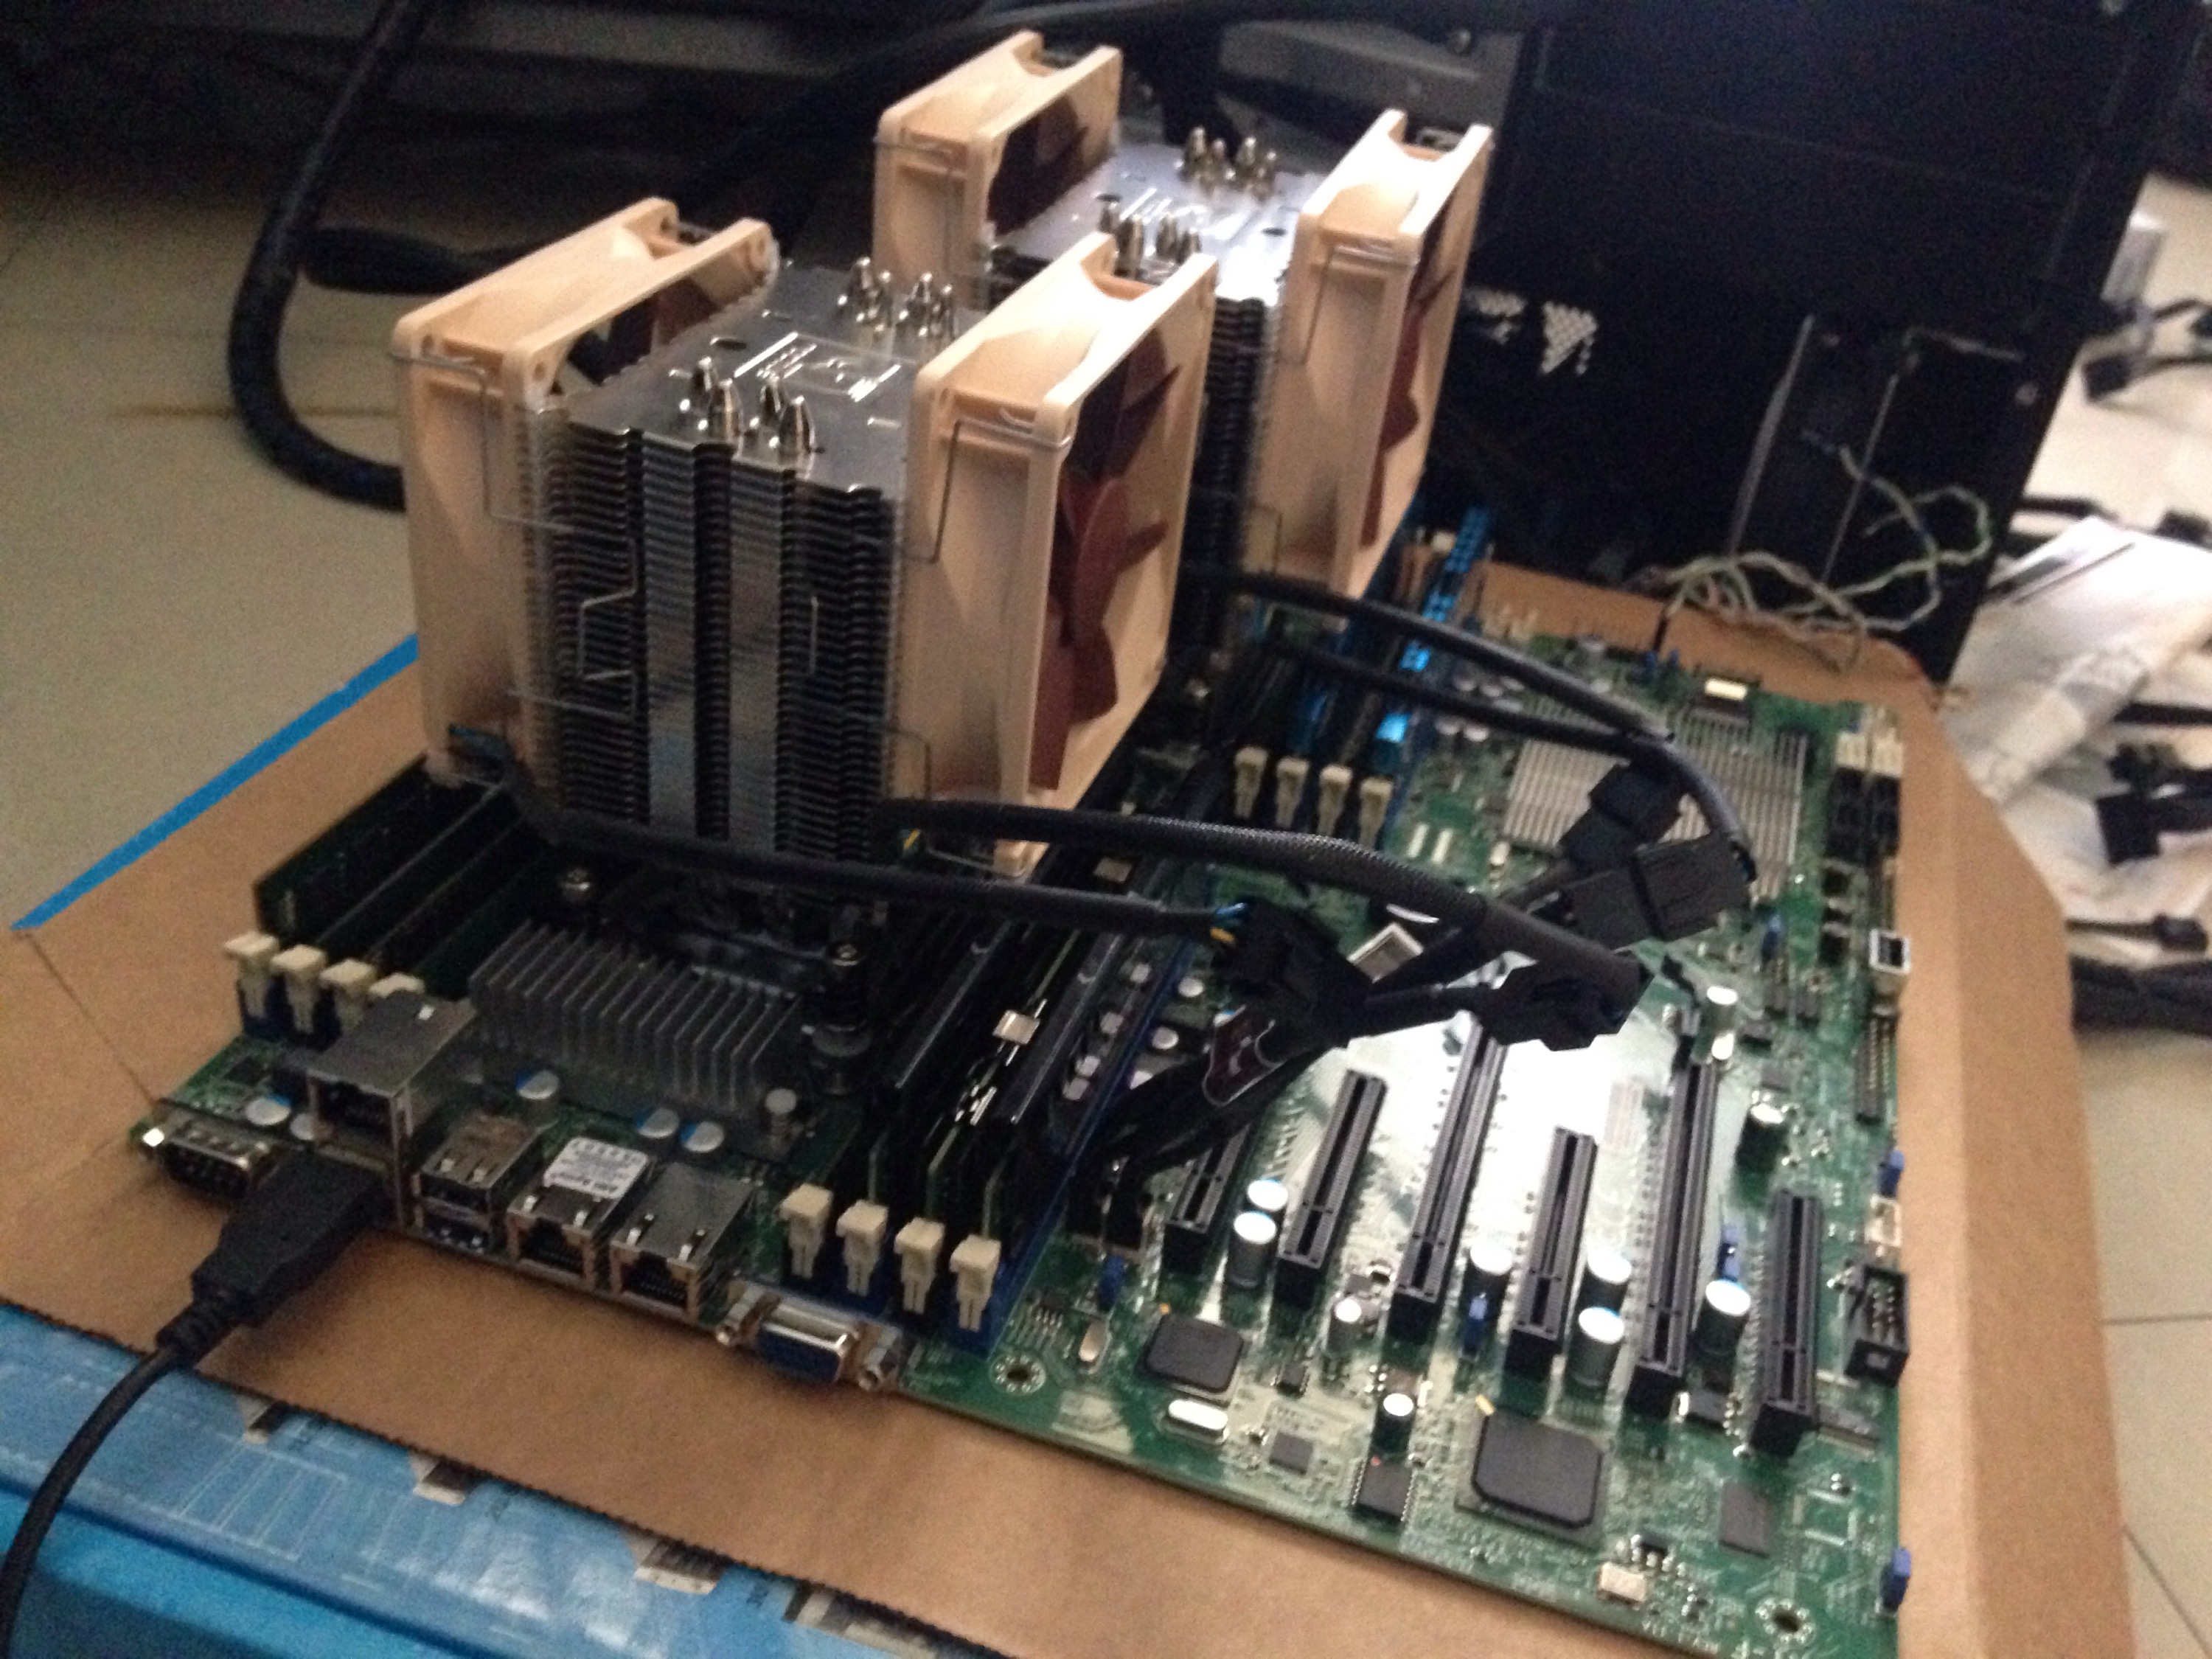
The aftermath of testing if the board+cpu is working:

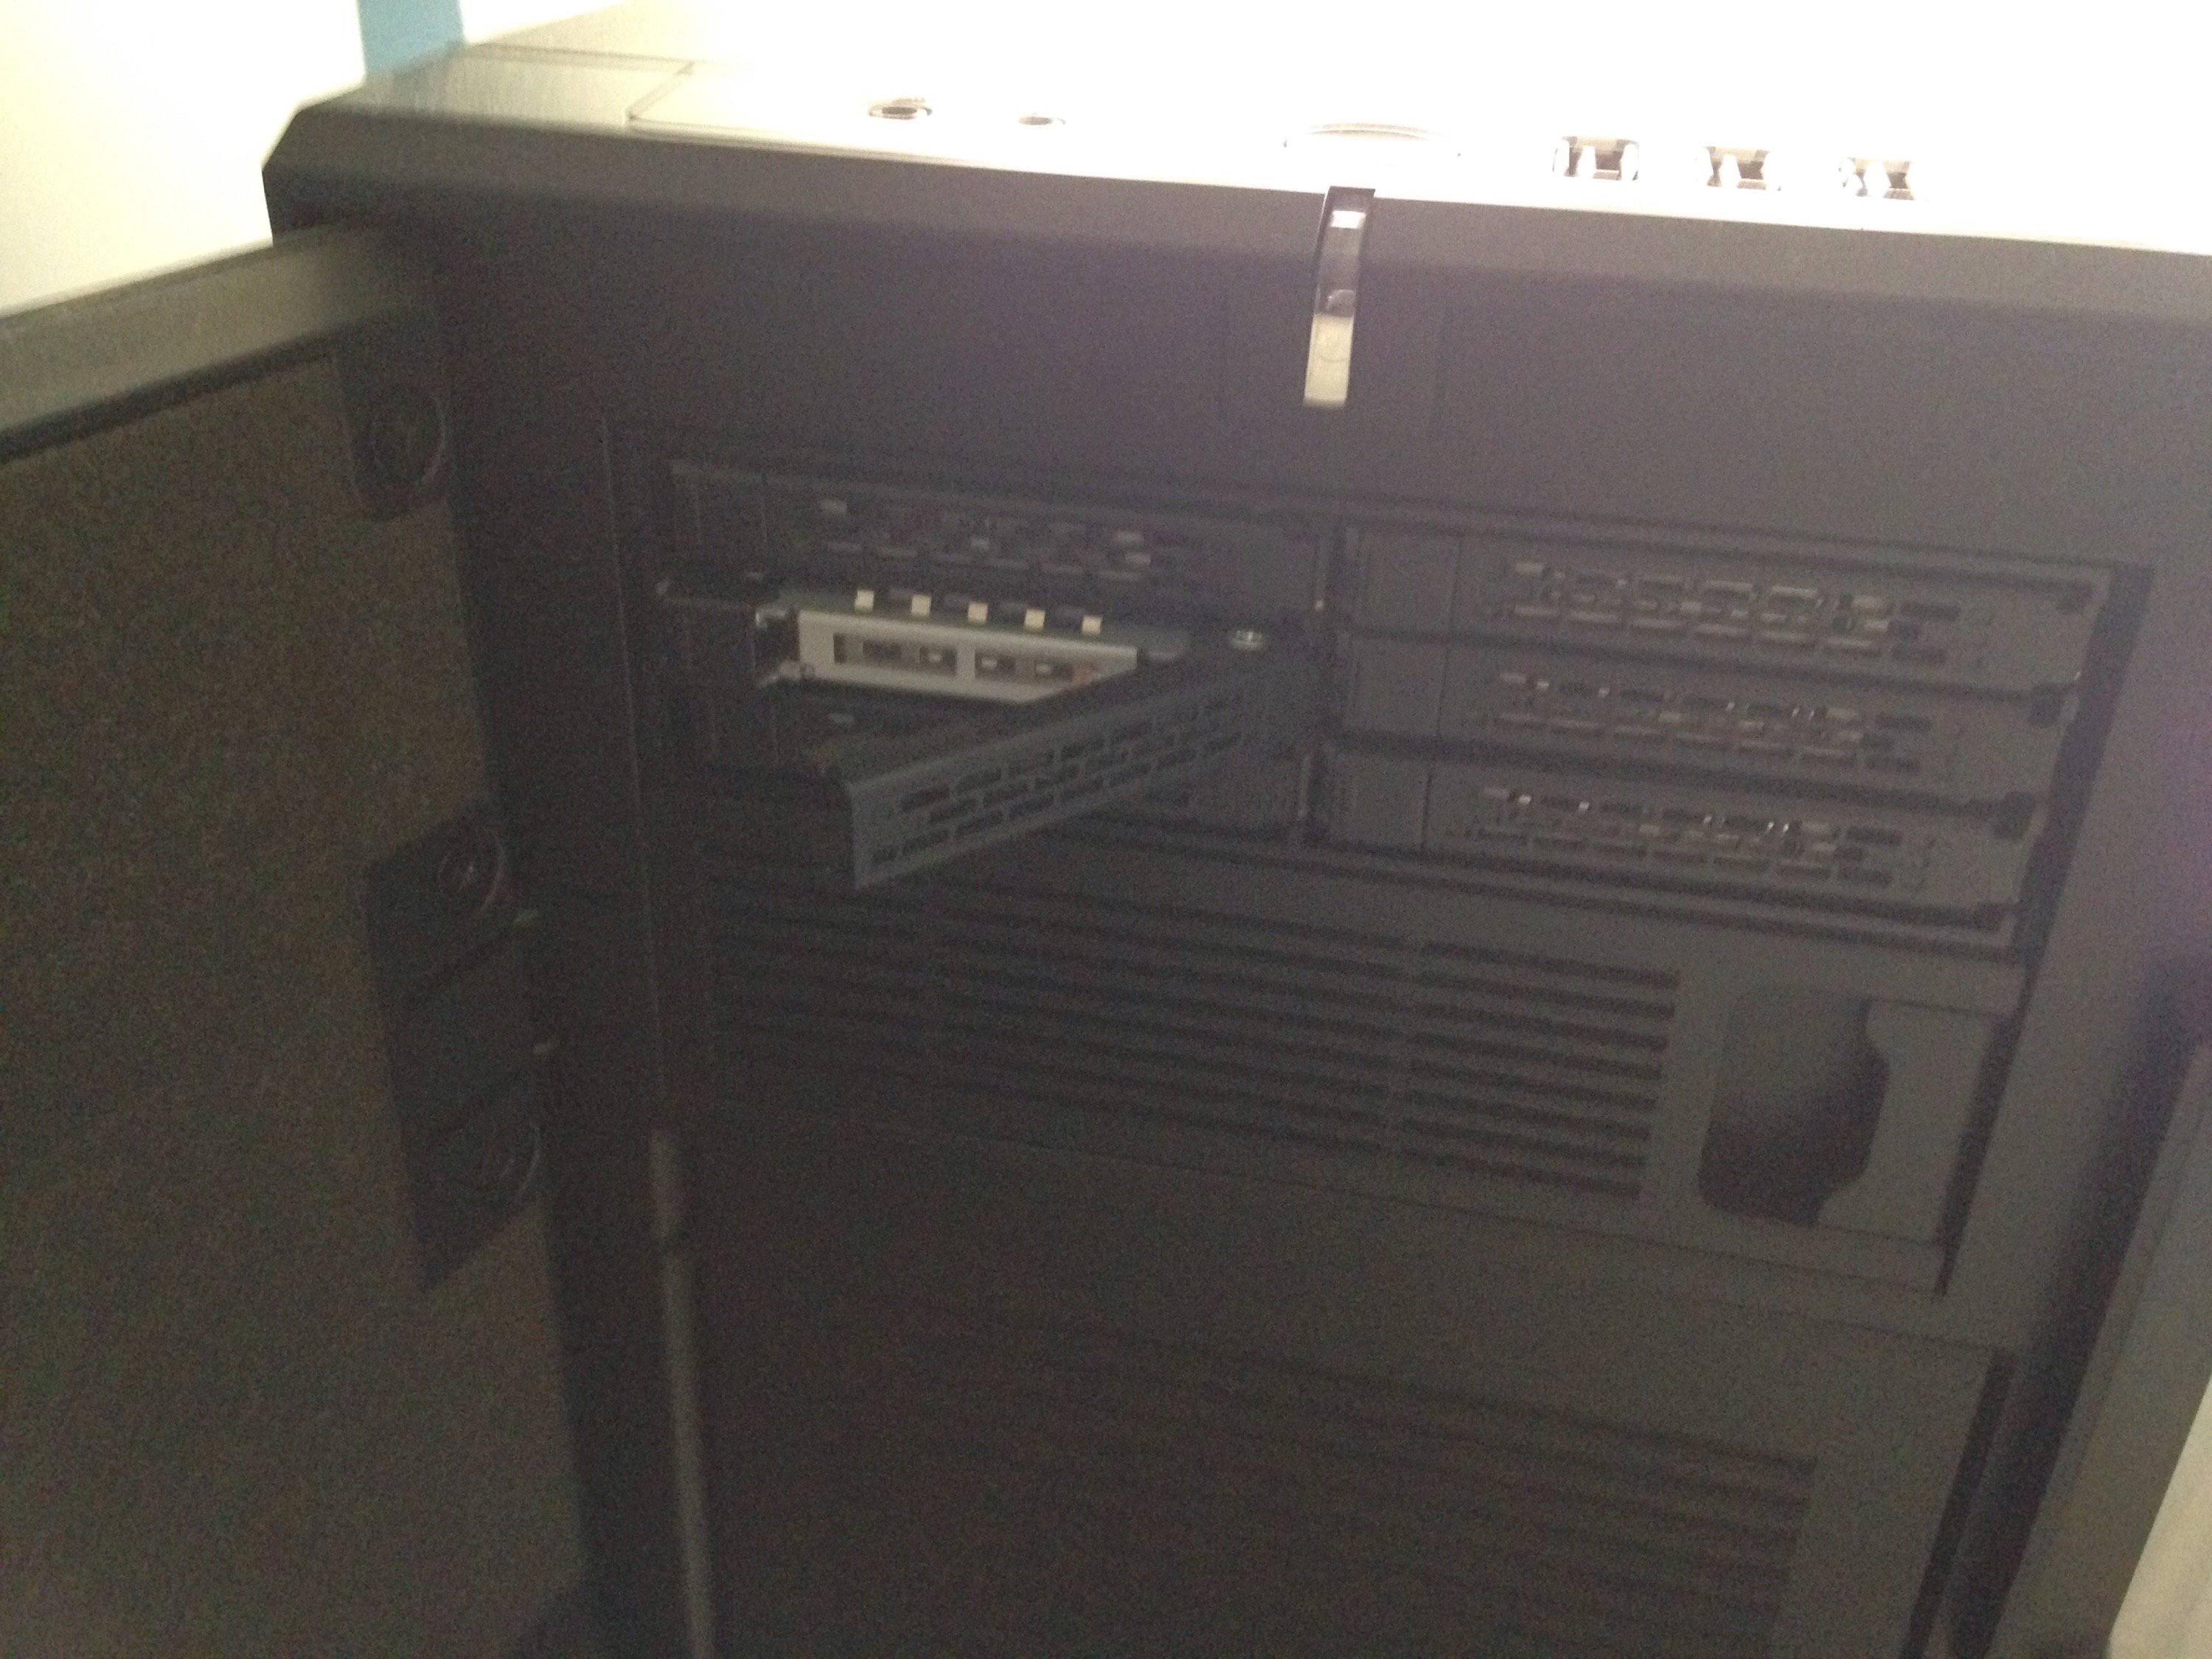
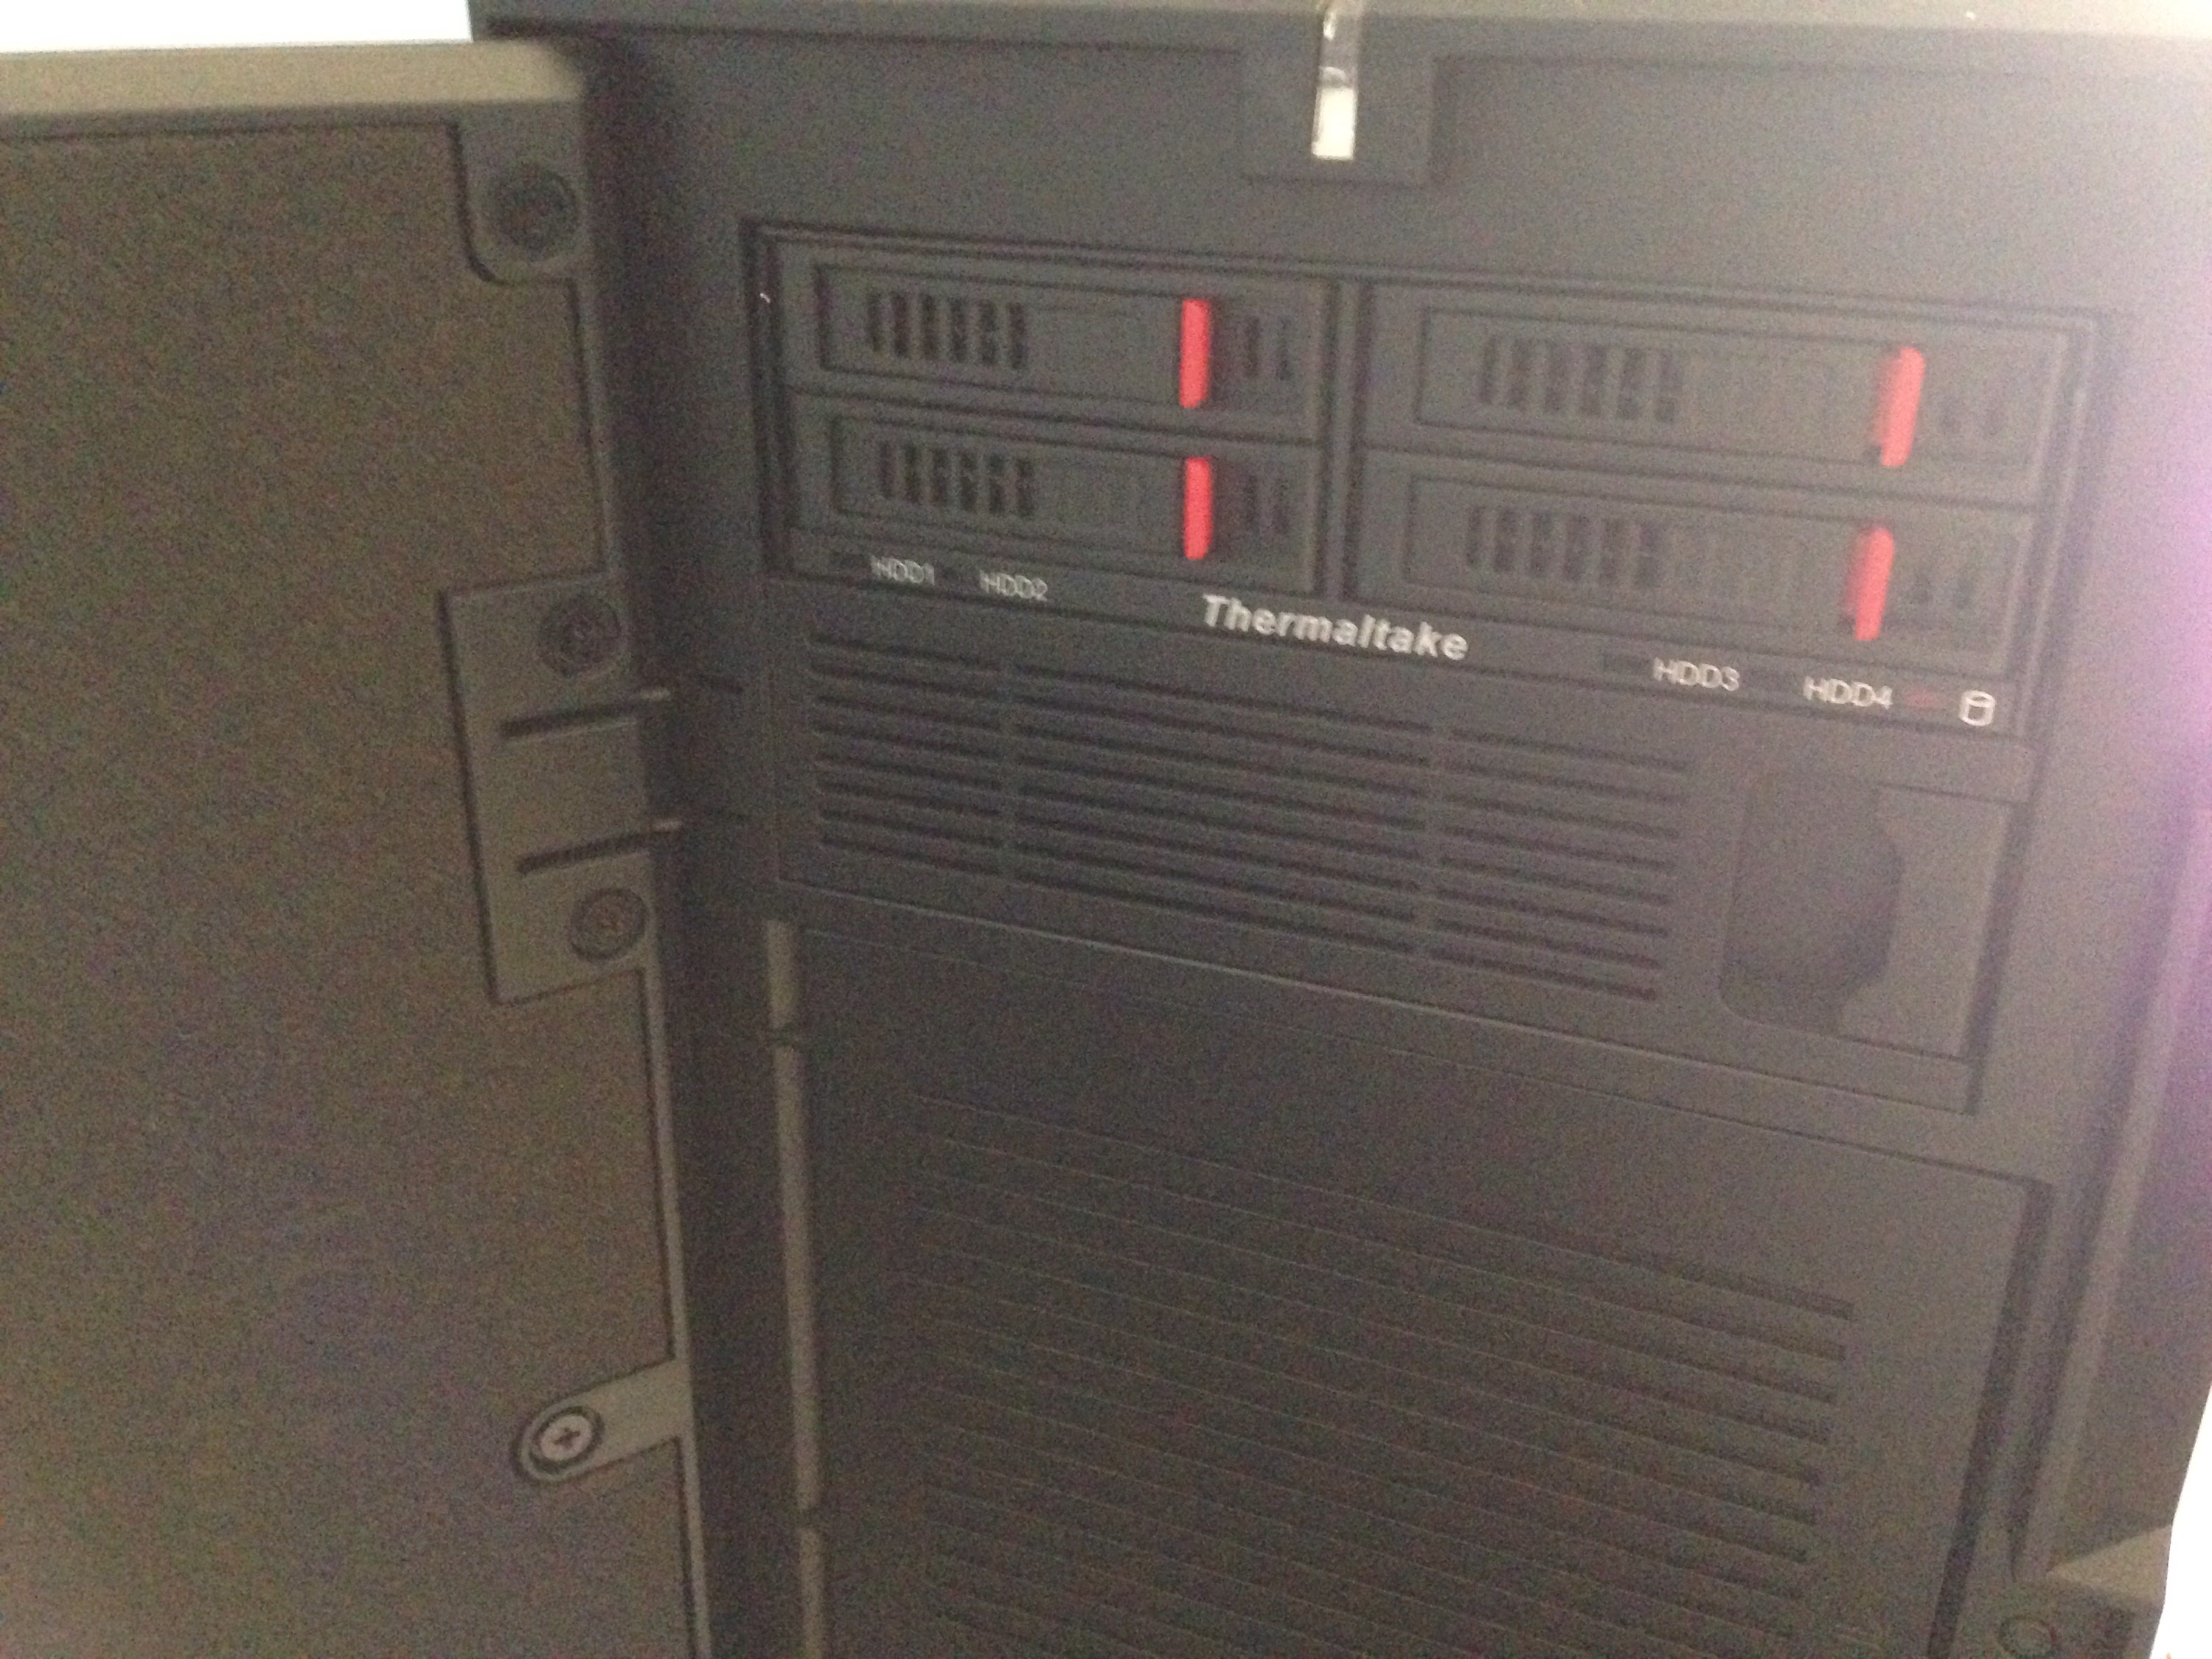
After I’ve verified everything is working, time to bring-out the case, Fractal Define XL R2
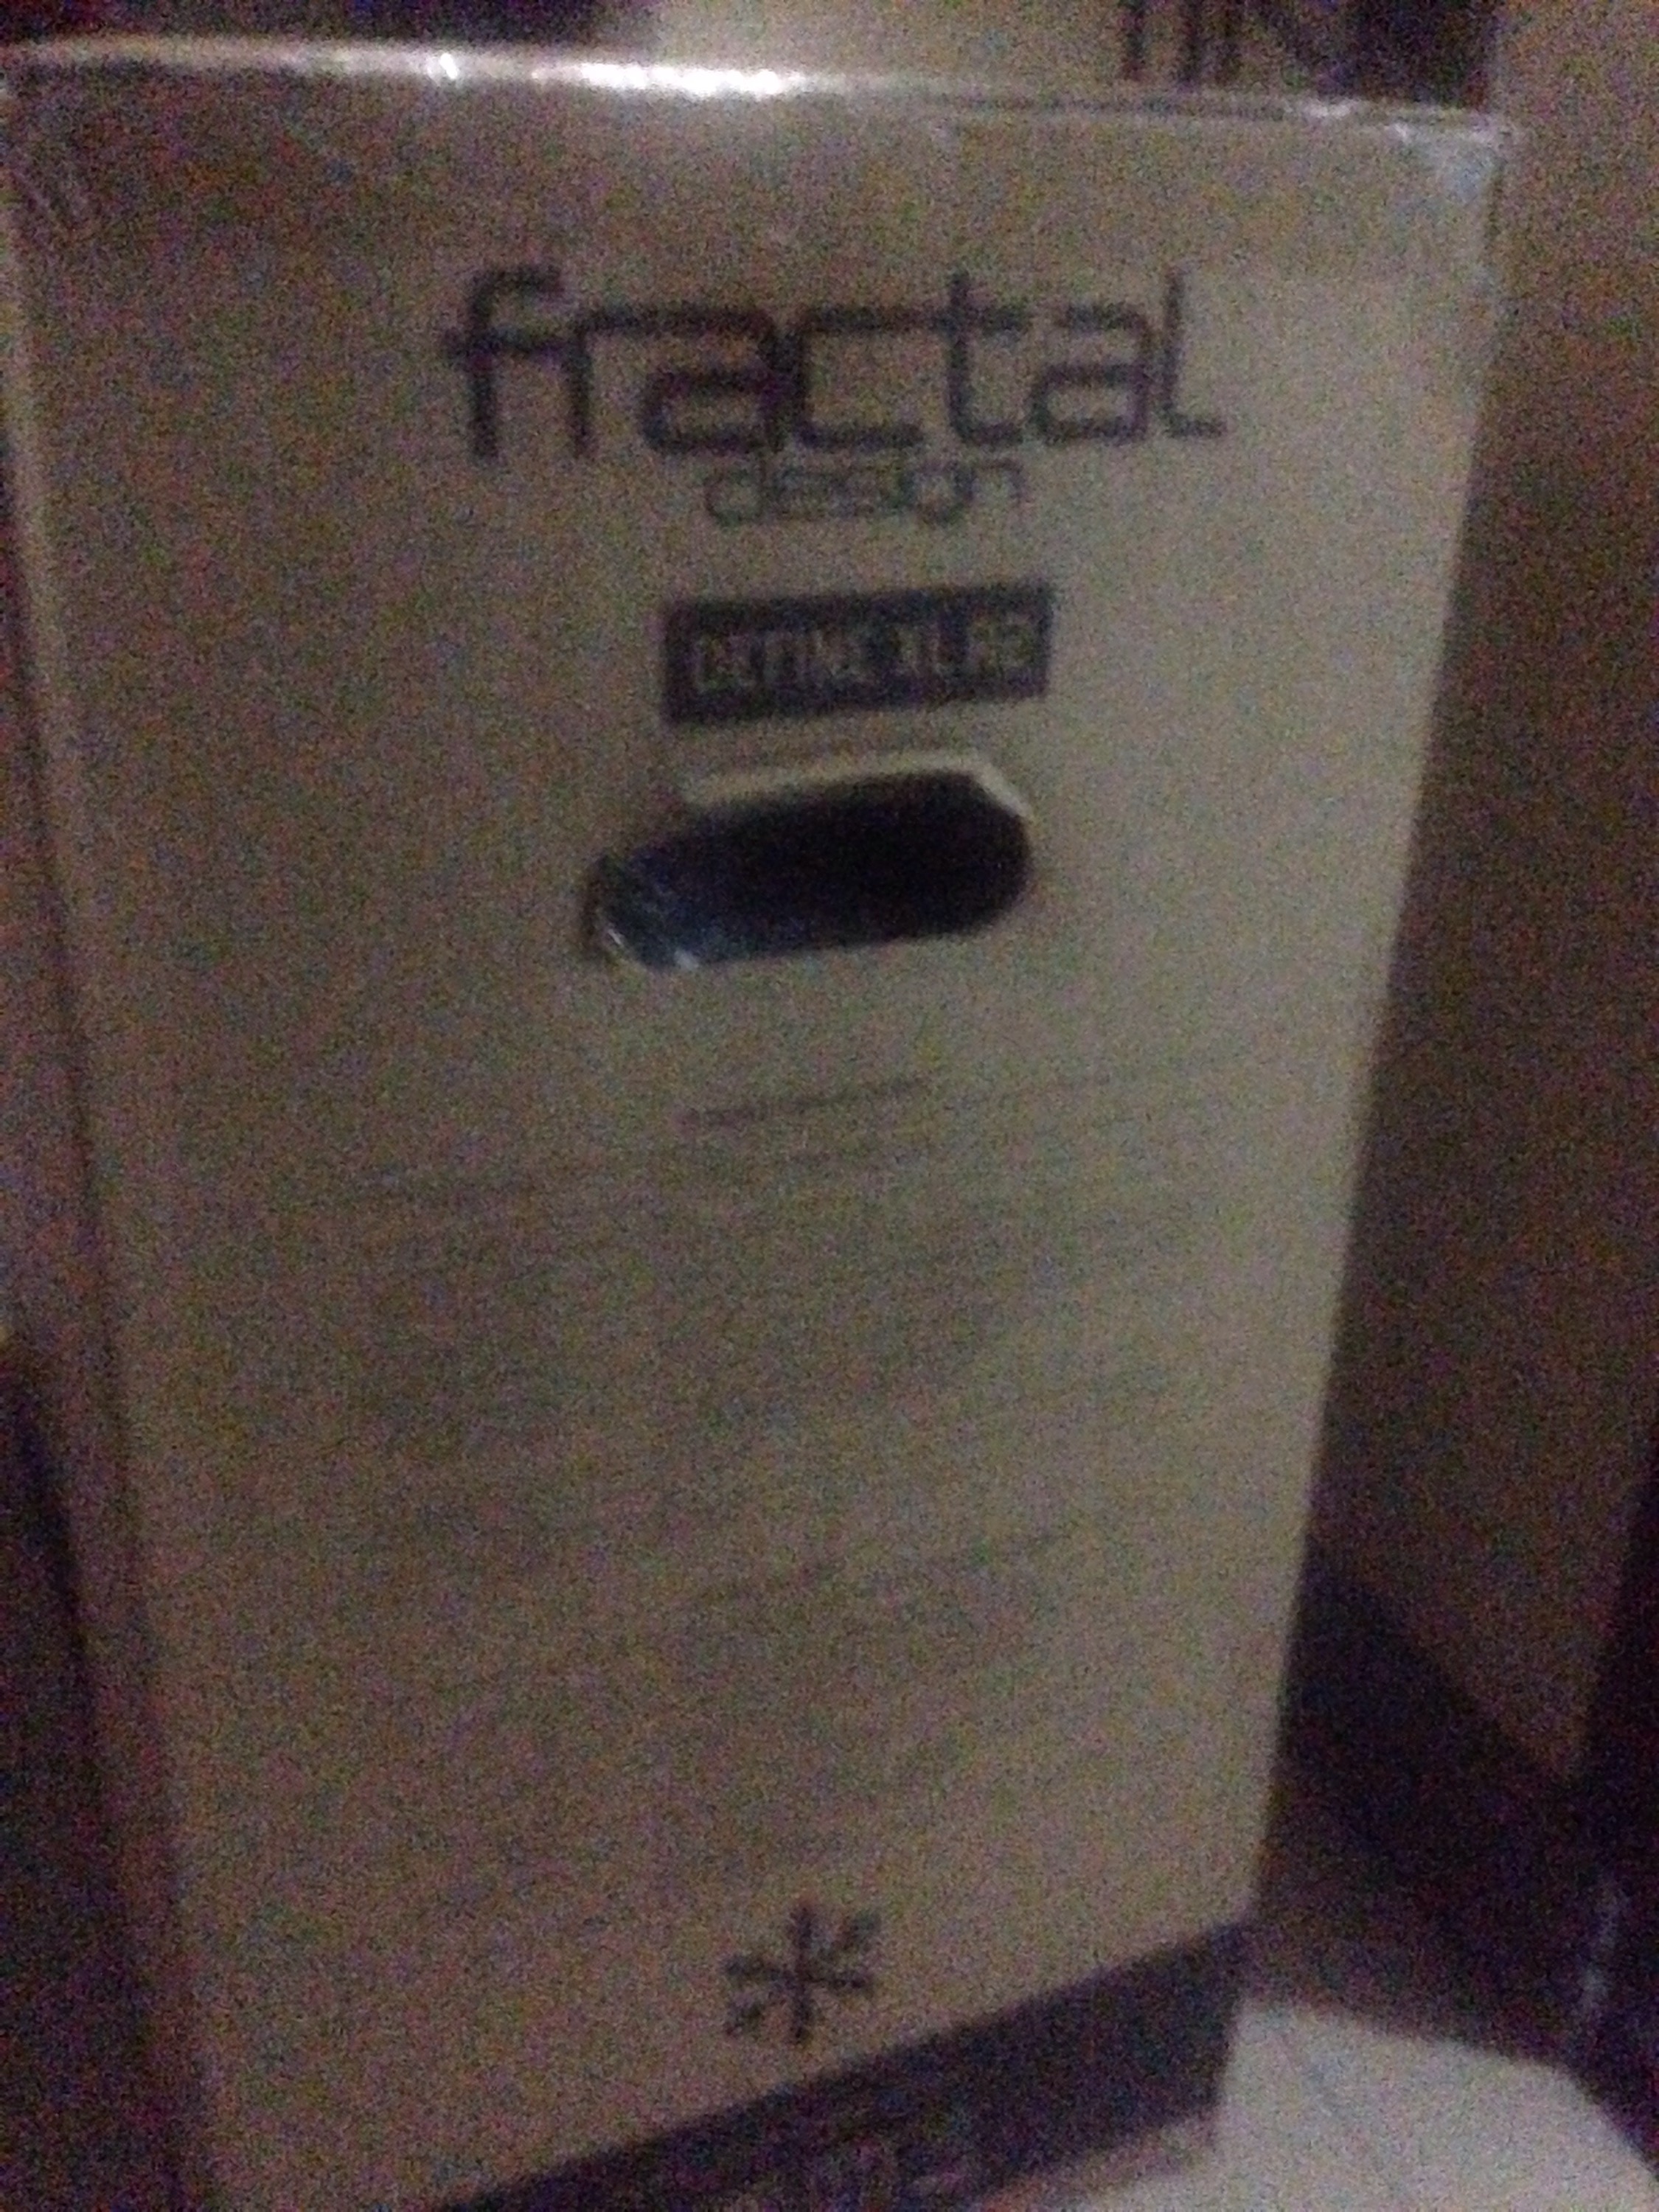
The case is well built with noise dampening material on both sides for silent operation.
First road-block: half of the screws at the top of the case didn’t line up. I found out, E-ATX specification is different for consumer and server boards (doh!).
The Supermicro X9DRi-F server board uses E-ATX with dimension: 12 x 13″ but Consumer E-ATX is only up to 12×11″. The Fractal, being a consumer case, didn’t accommodate for the Server dimension. The only solution is to drill at least one hole to support the upper portion of the board. This is needed as the full weight of the HSF is pulling down the board. Good thing I did a clean hole (no pictures though)
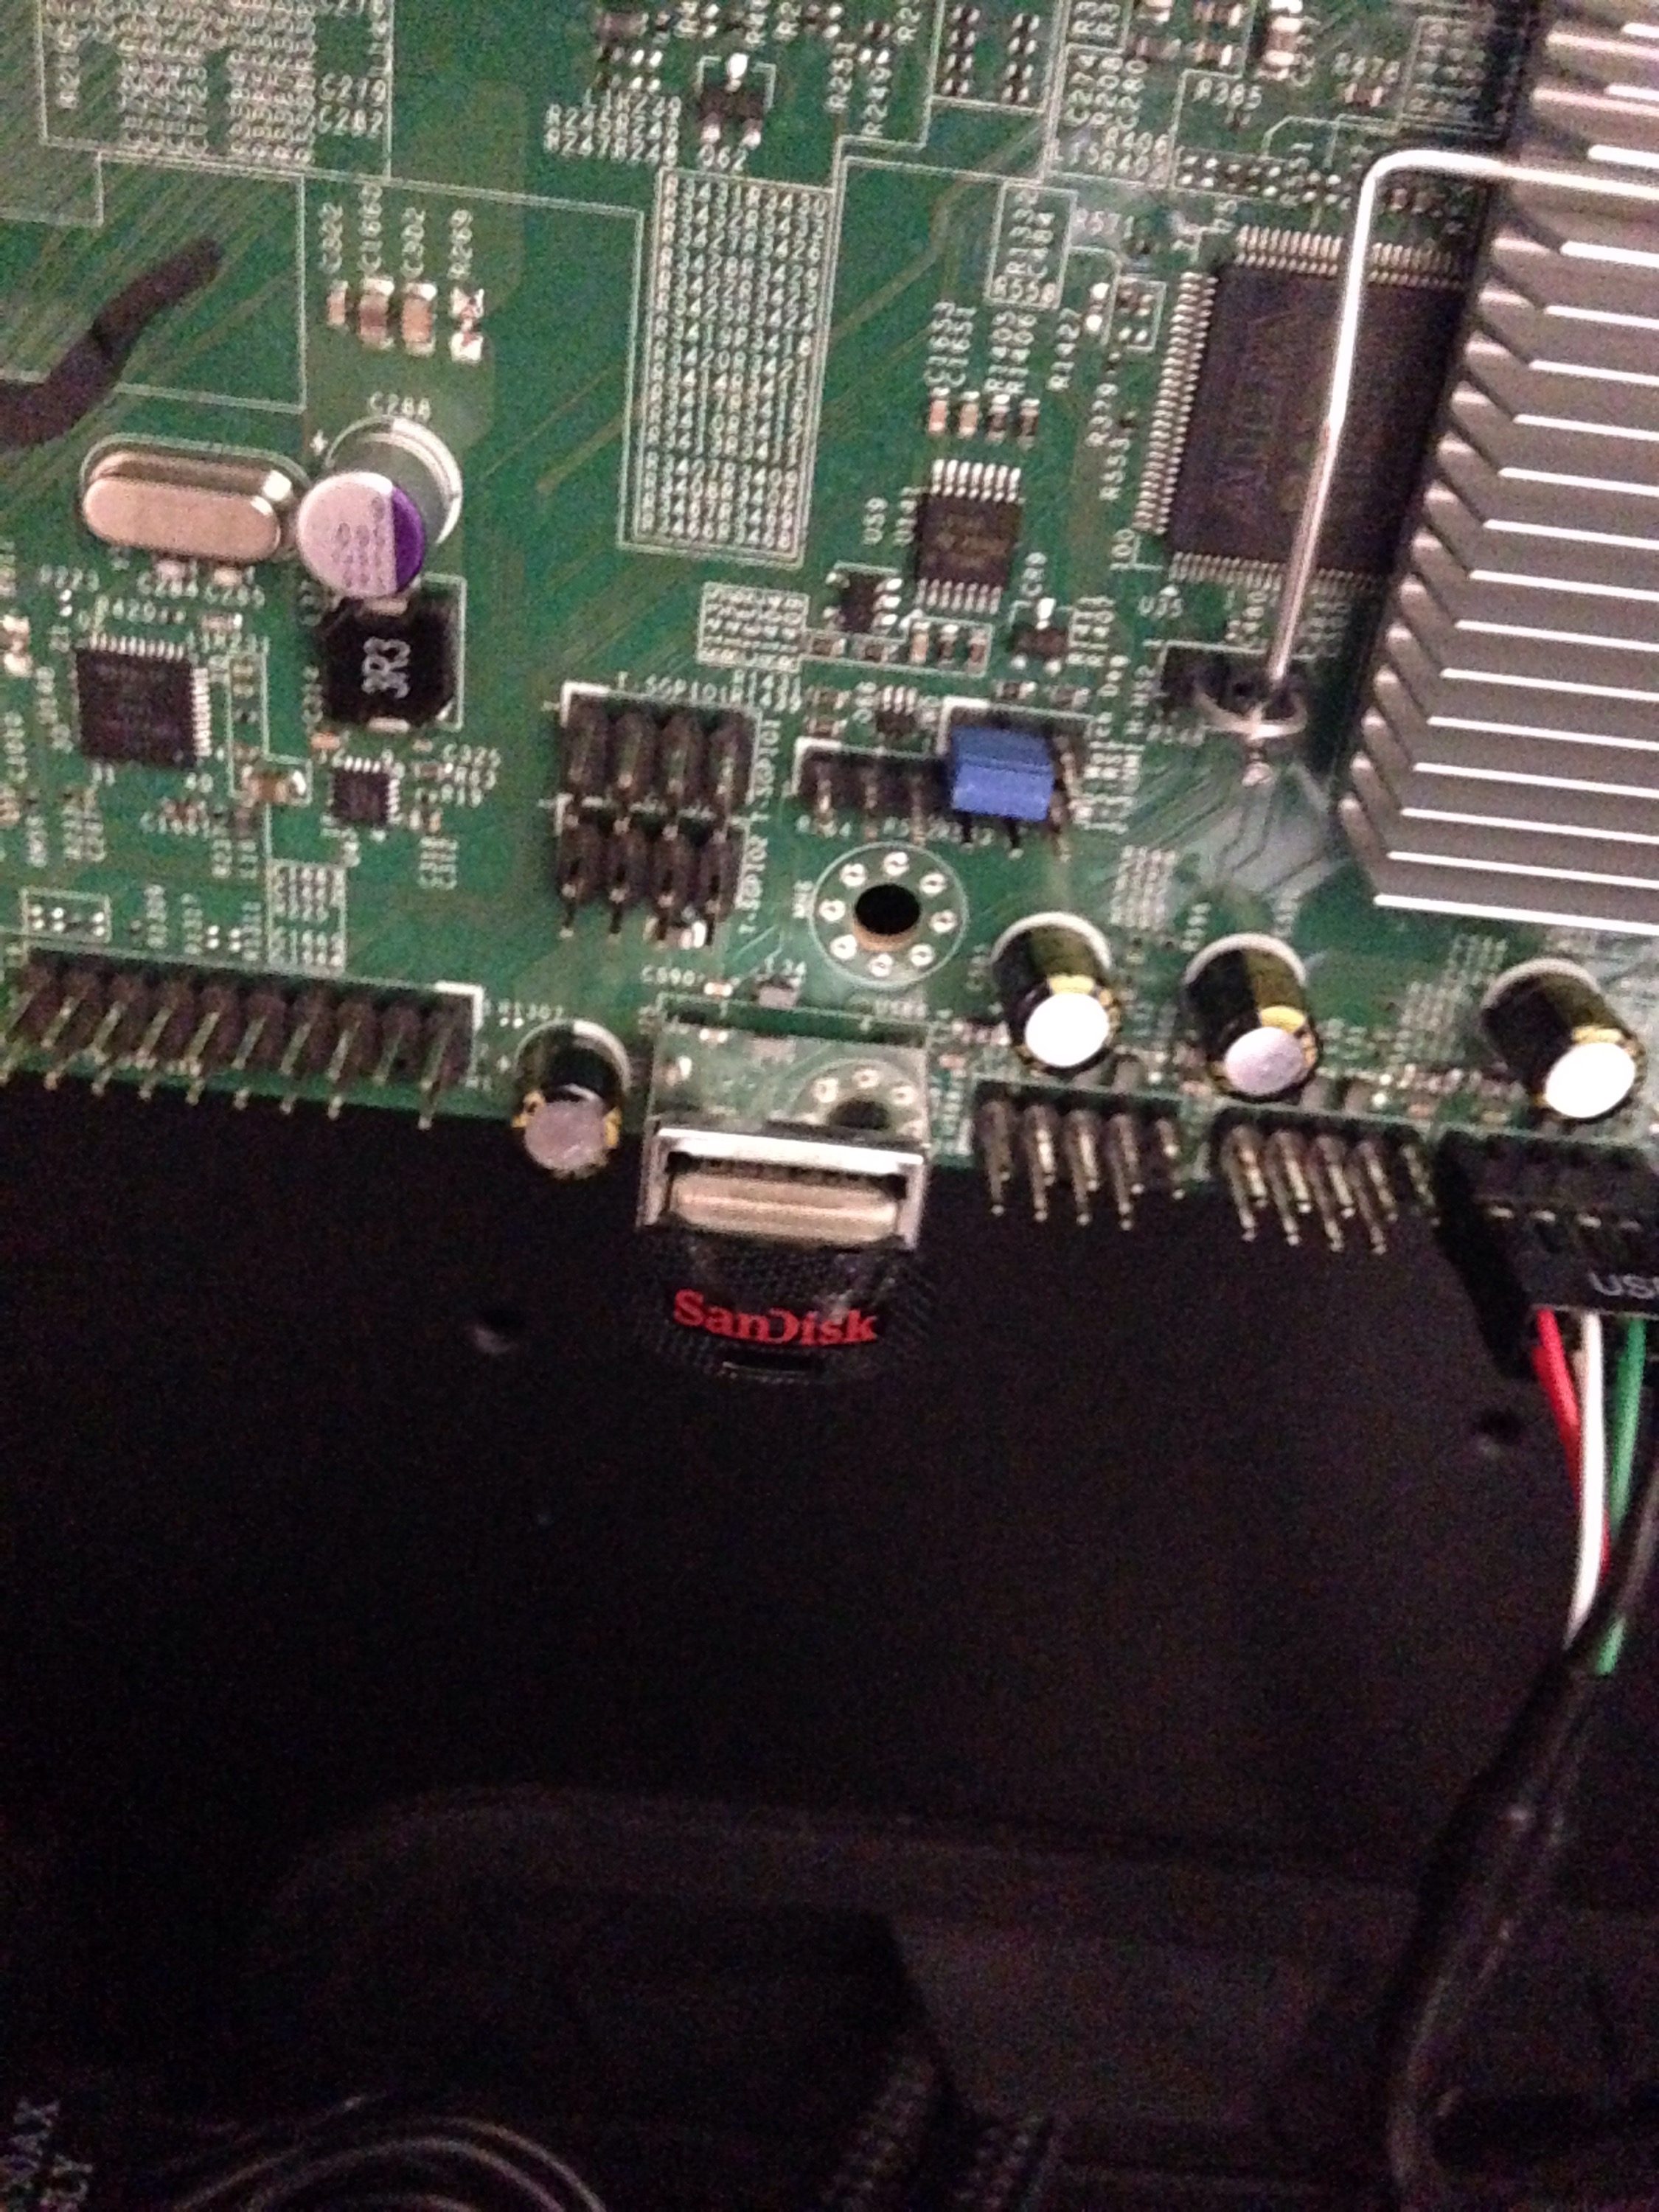
Once assembled, pop-in the USB for the ESXi6 bootable and we are all set. The board has an internal USB port which is really neat!
Put the SSD’s in the Max5Quad. (realized the image is from my micro-atx build)
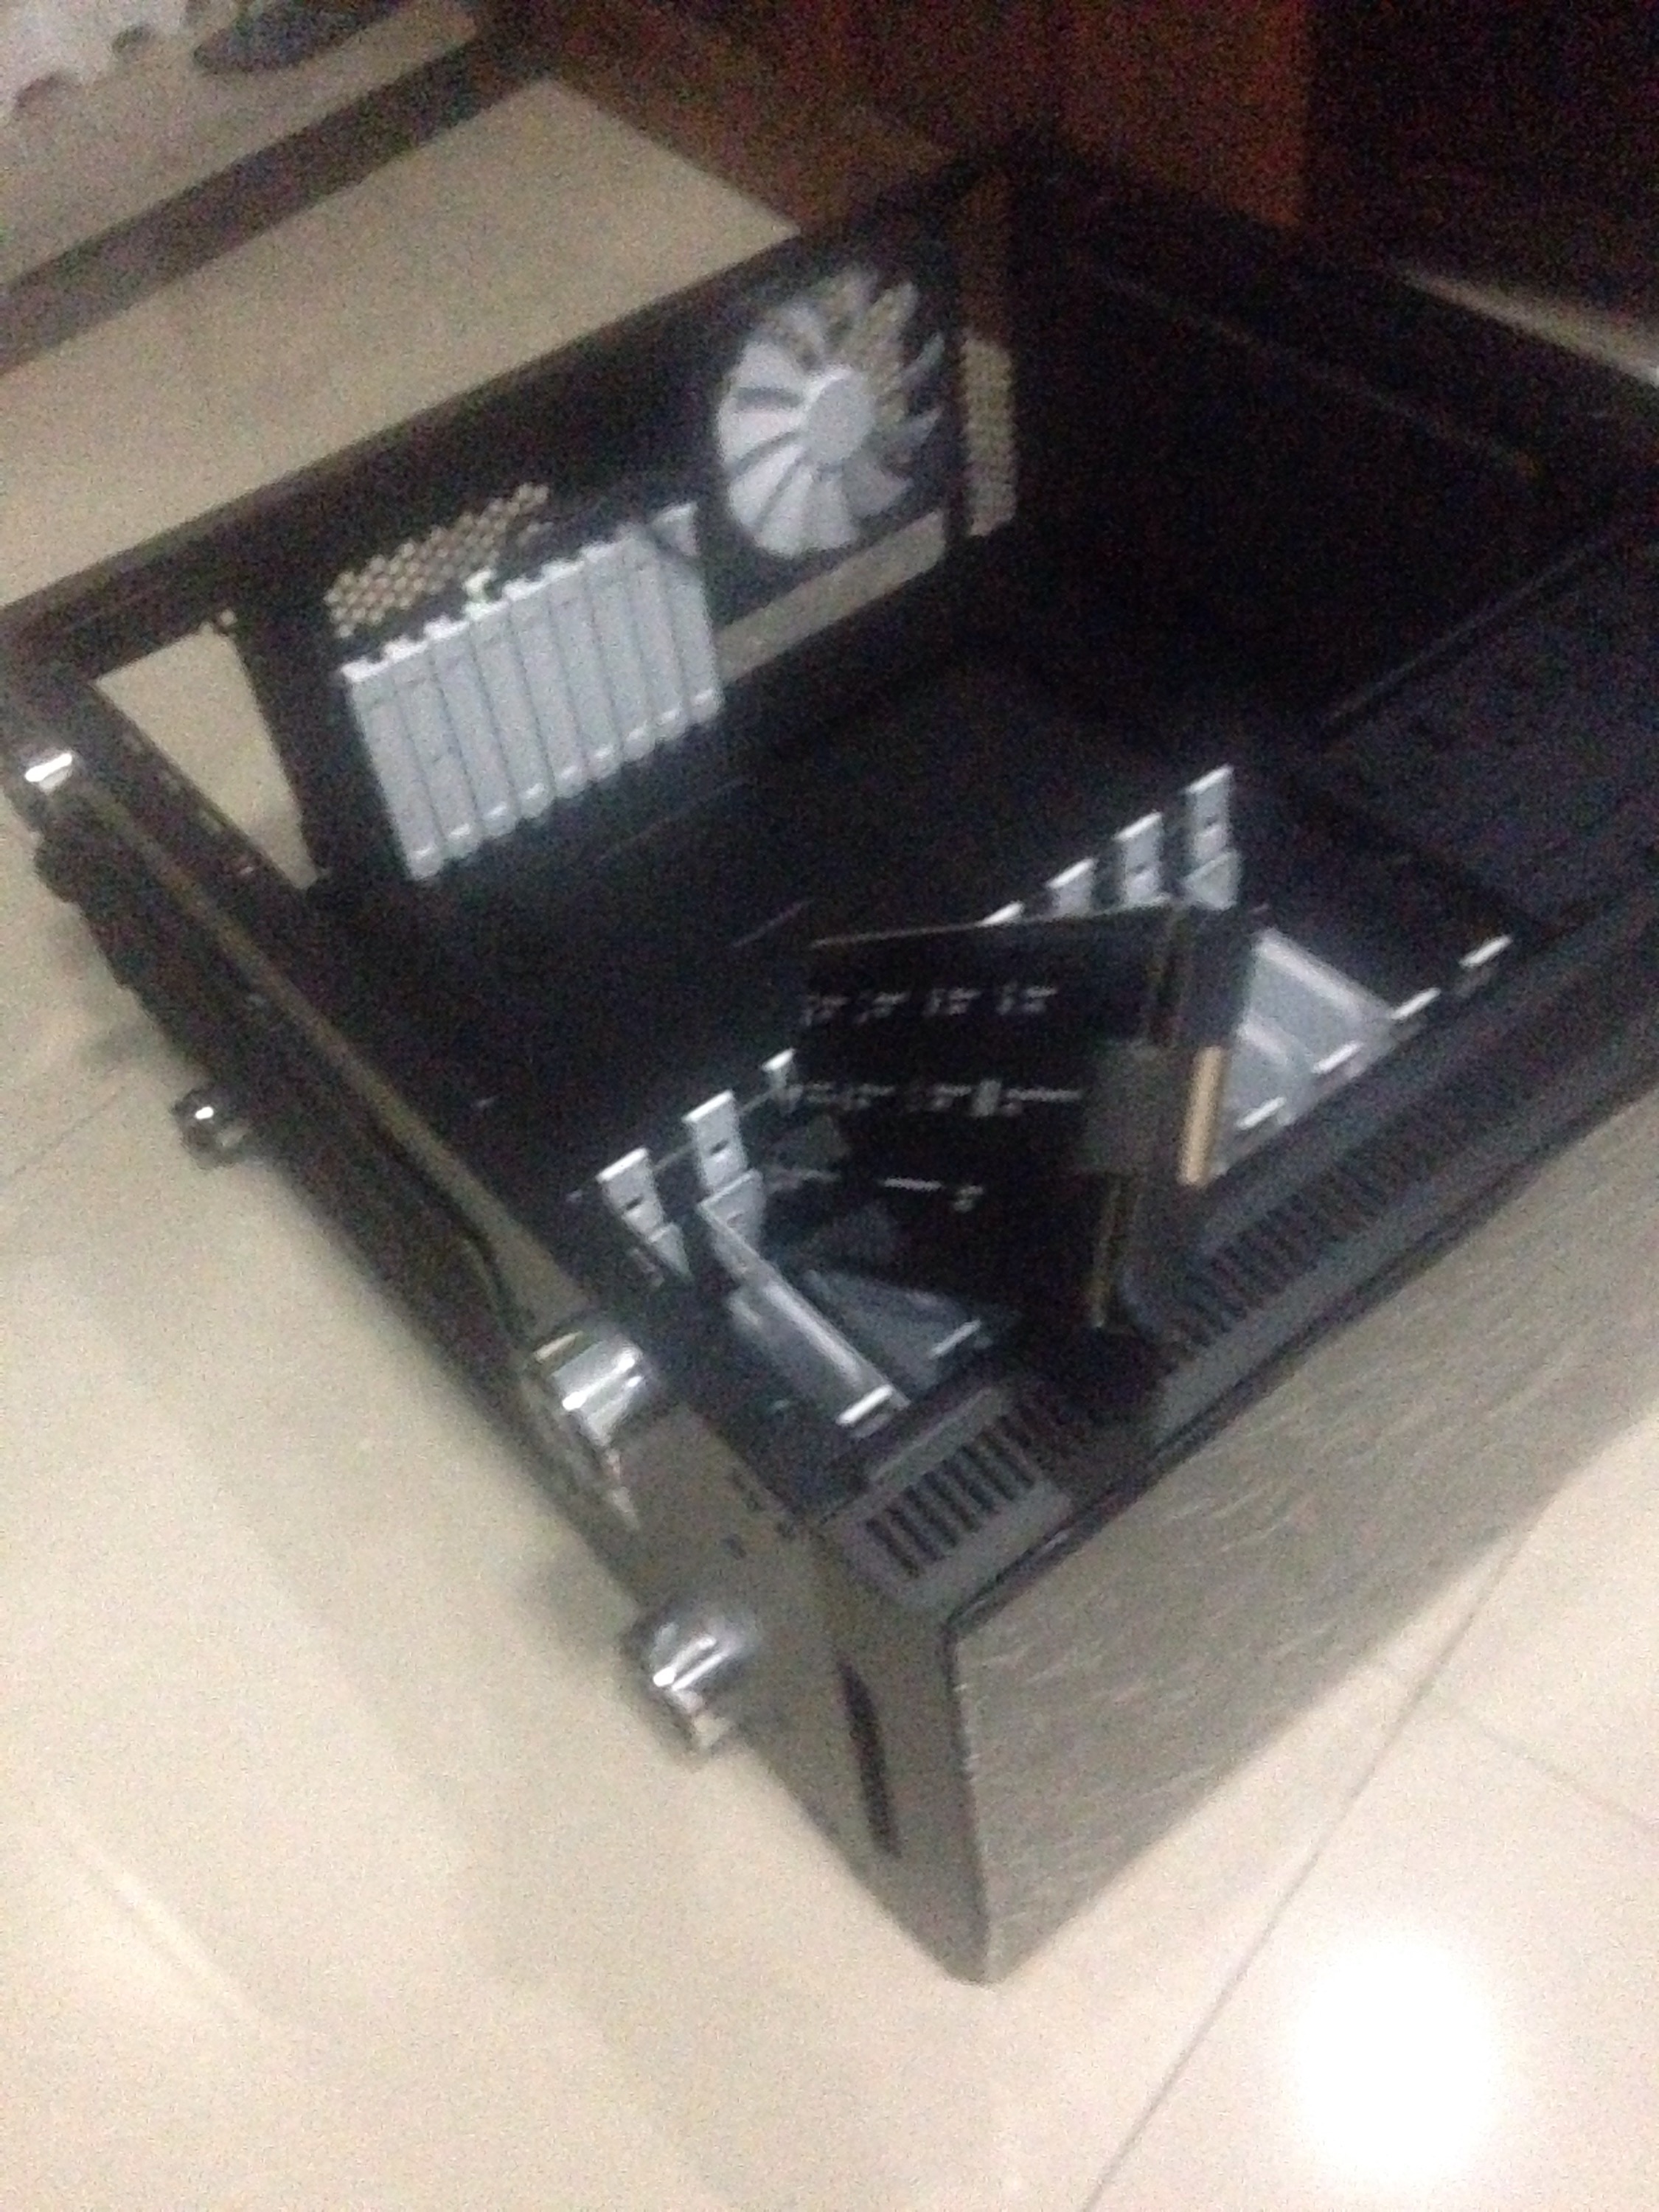
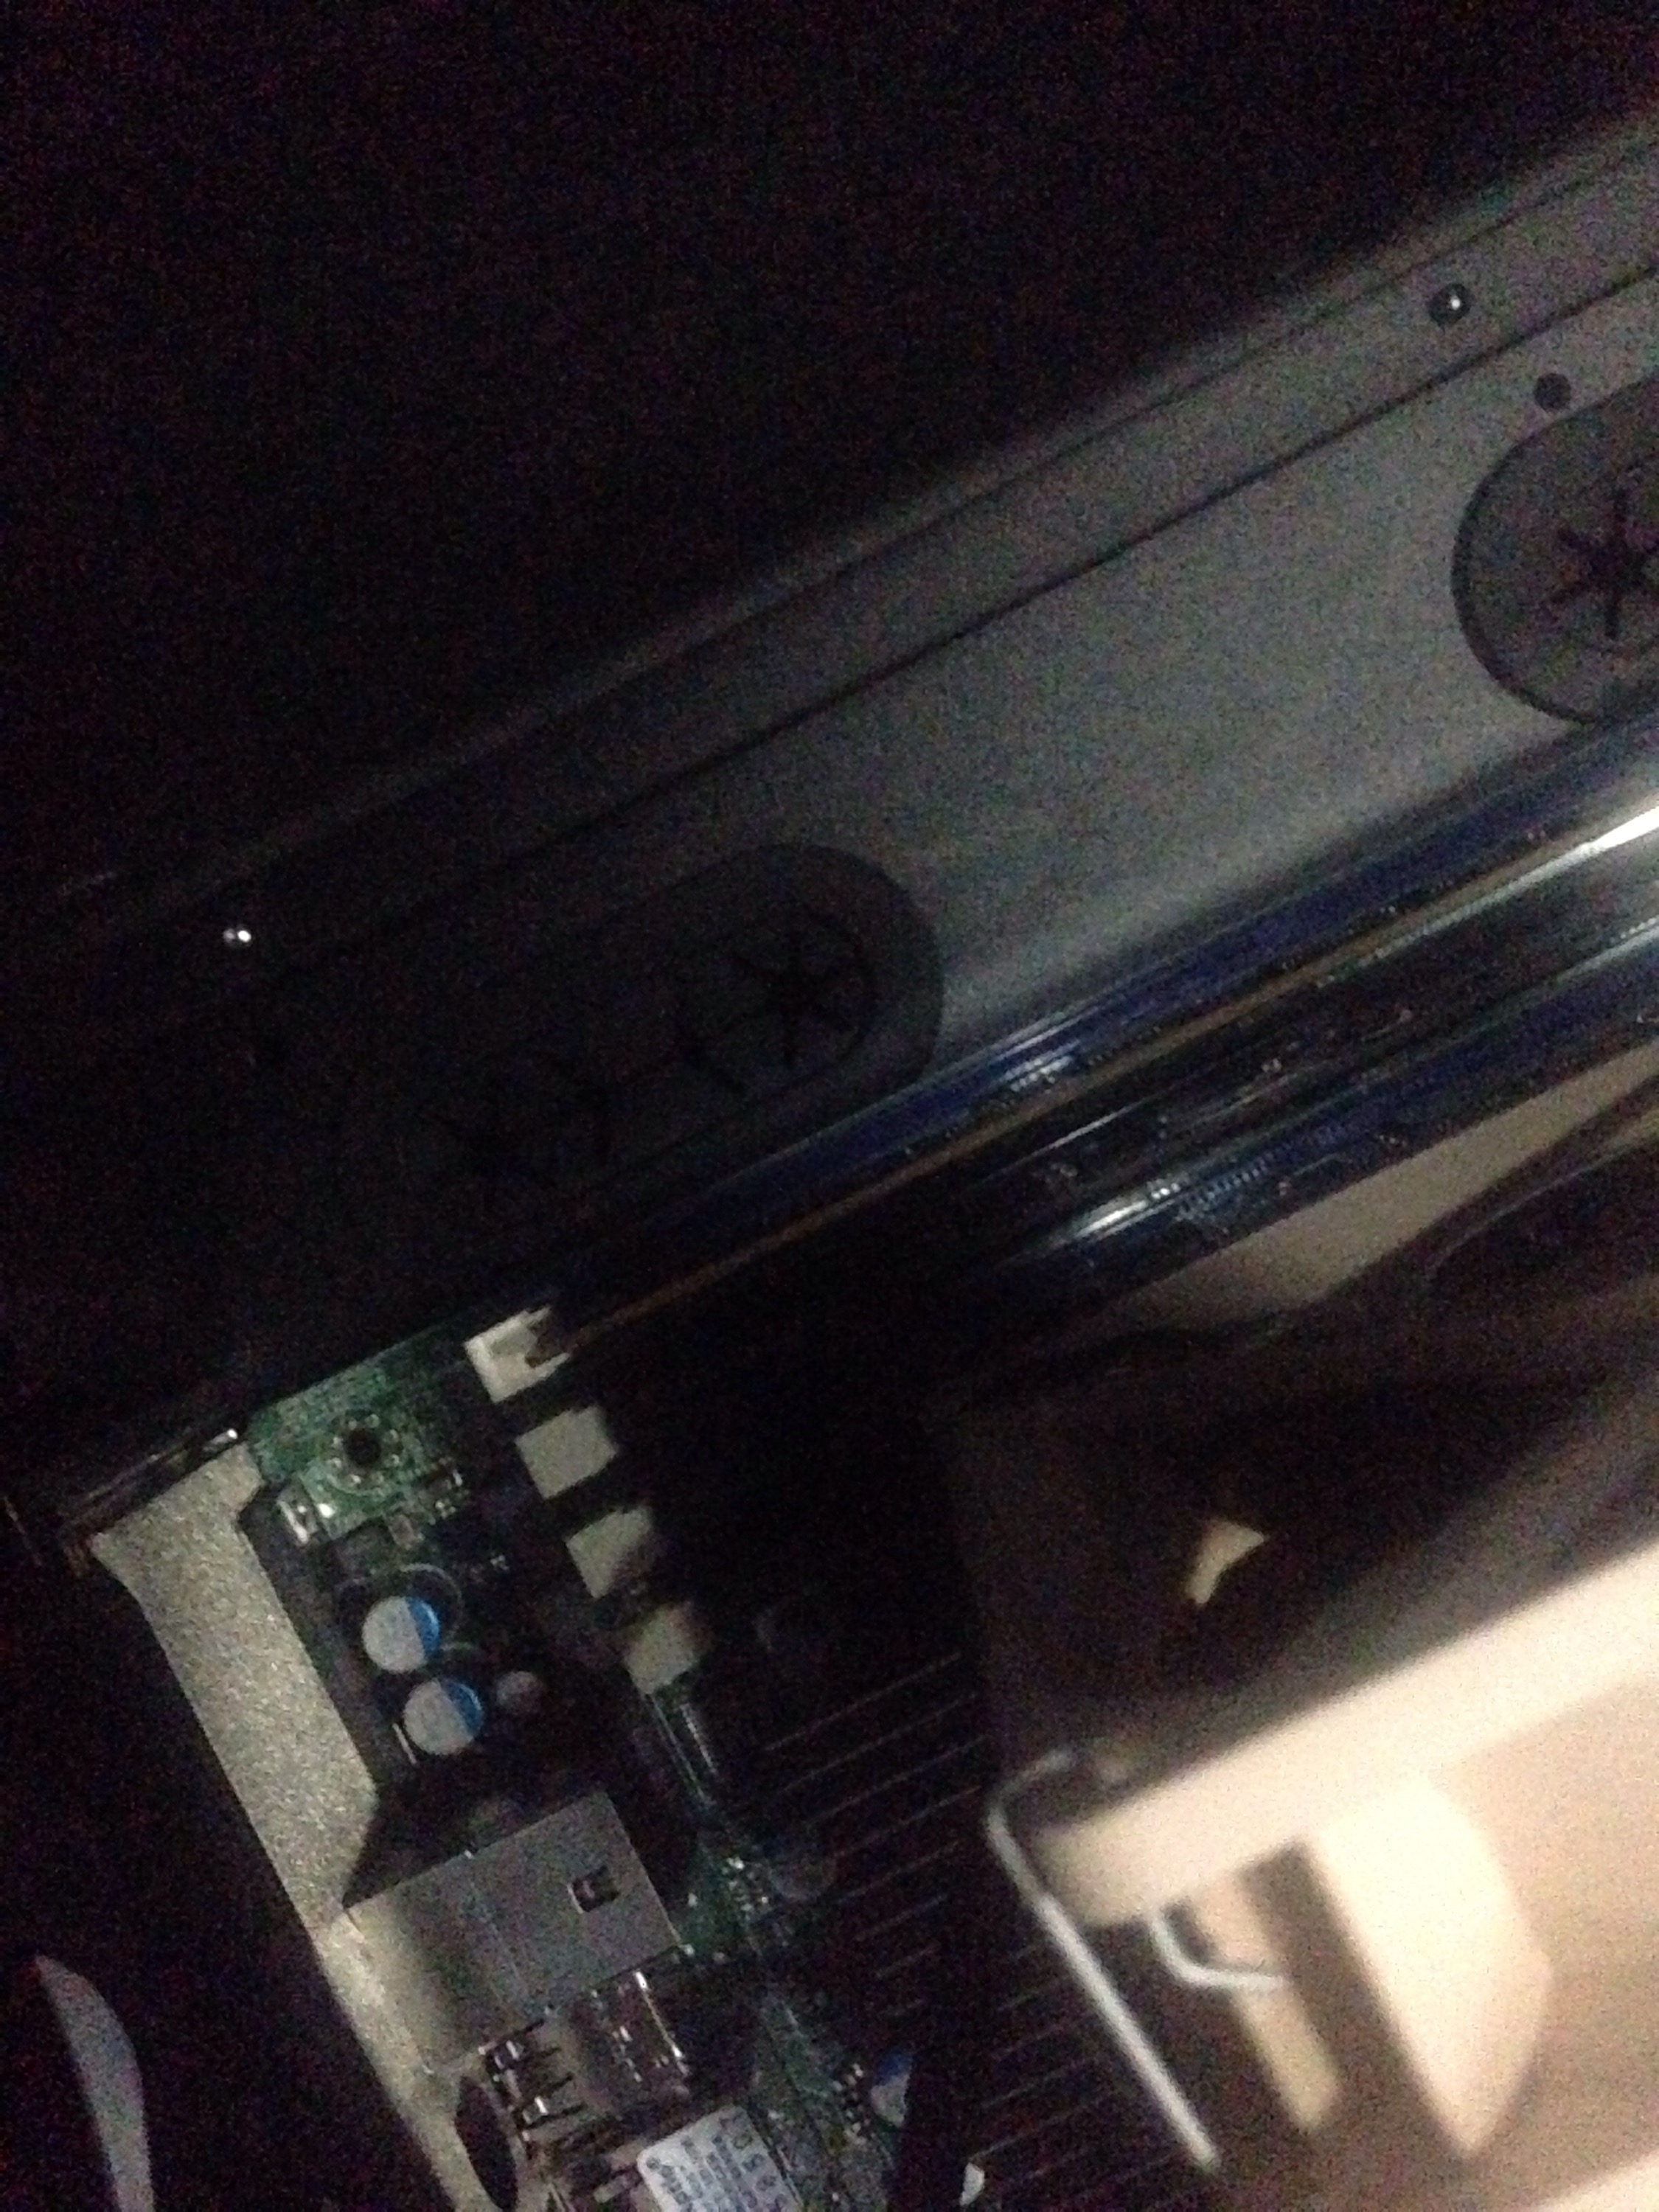
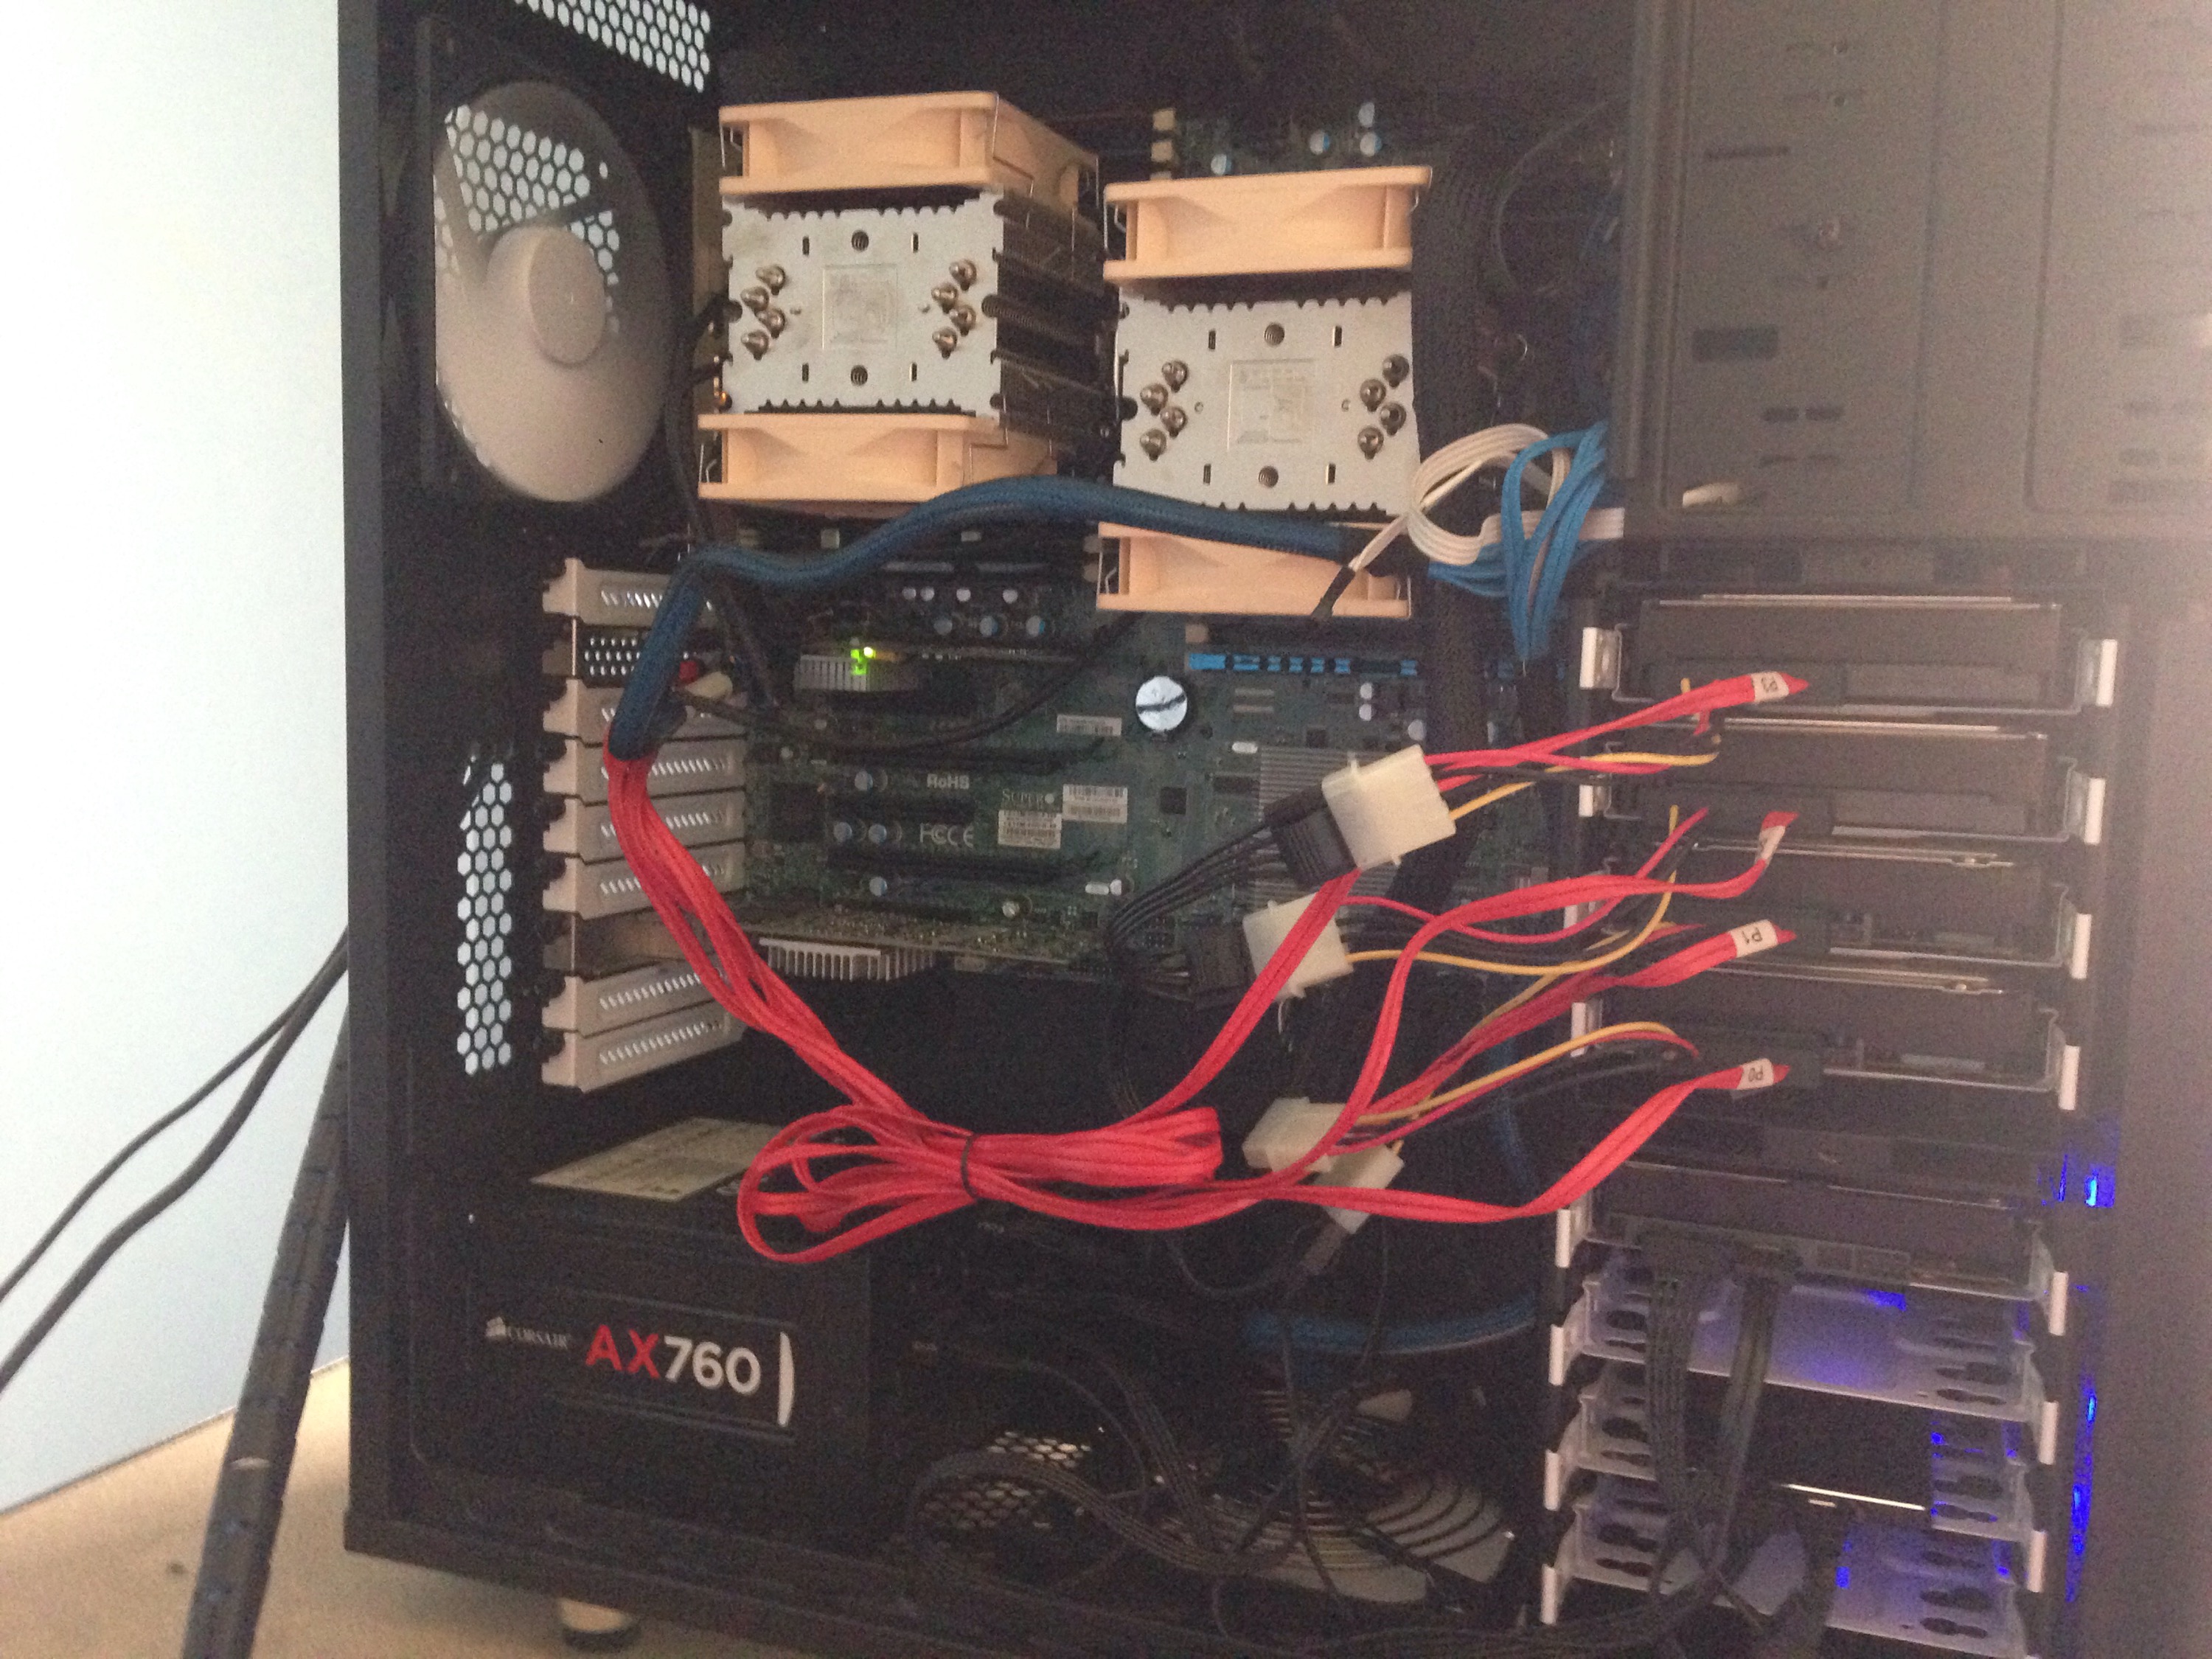
Powering-on the final build:
RIP Cable management 🙂
Thanks for reading!